
How to Get a Visa to Walk Te Araroa in New Zealand
Please note: The information provided on this website is for general informational purposes only and is based on publicly available resources at the time of writing. I am not an immigration advisor or lawyer, and nothing on this site should be taken as legal advice. Immigration laws and policies can change, and your individual circumstances may require specific advice from a licensed immigration professional. For the most up-to-date information, please refer to the official New Zealand Immigration website: https://www.immigration.govt.nz.
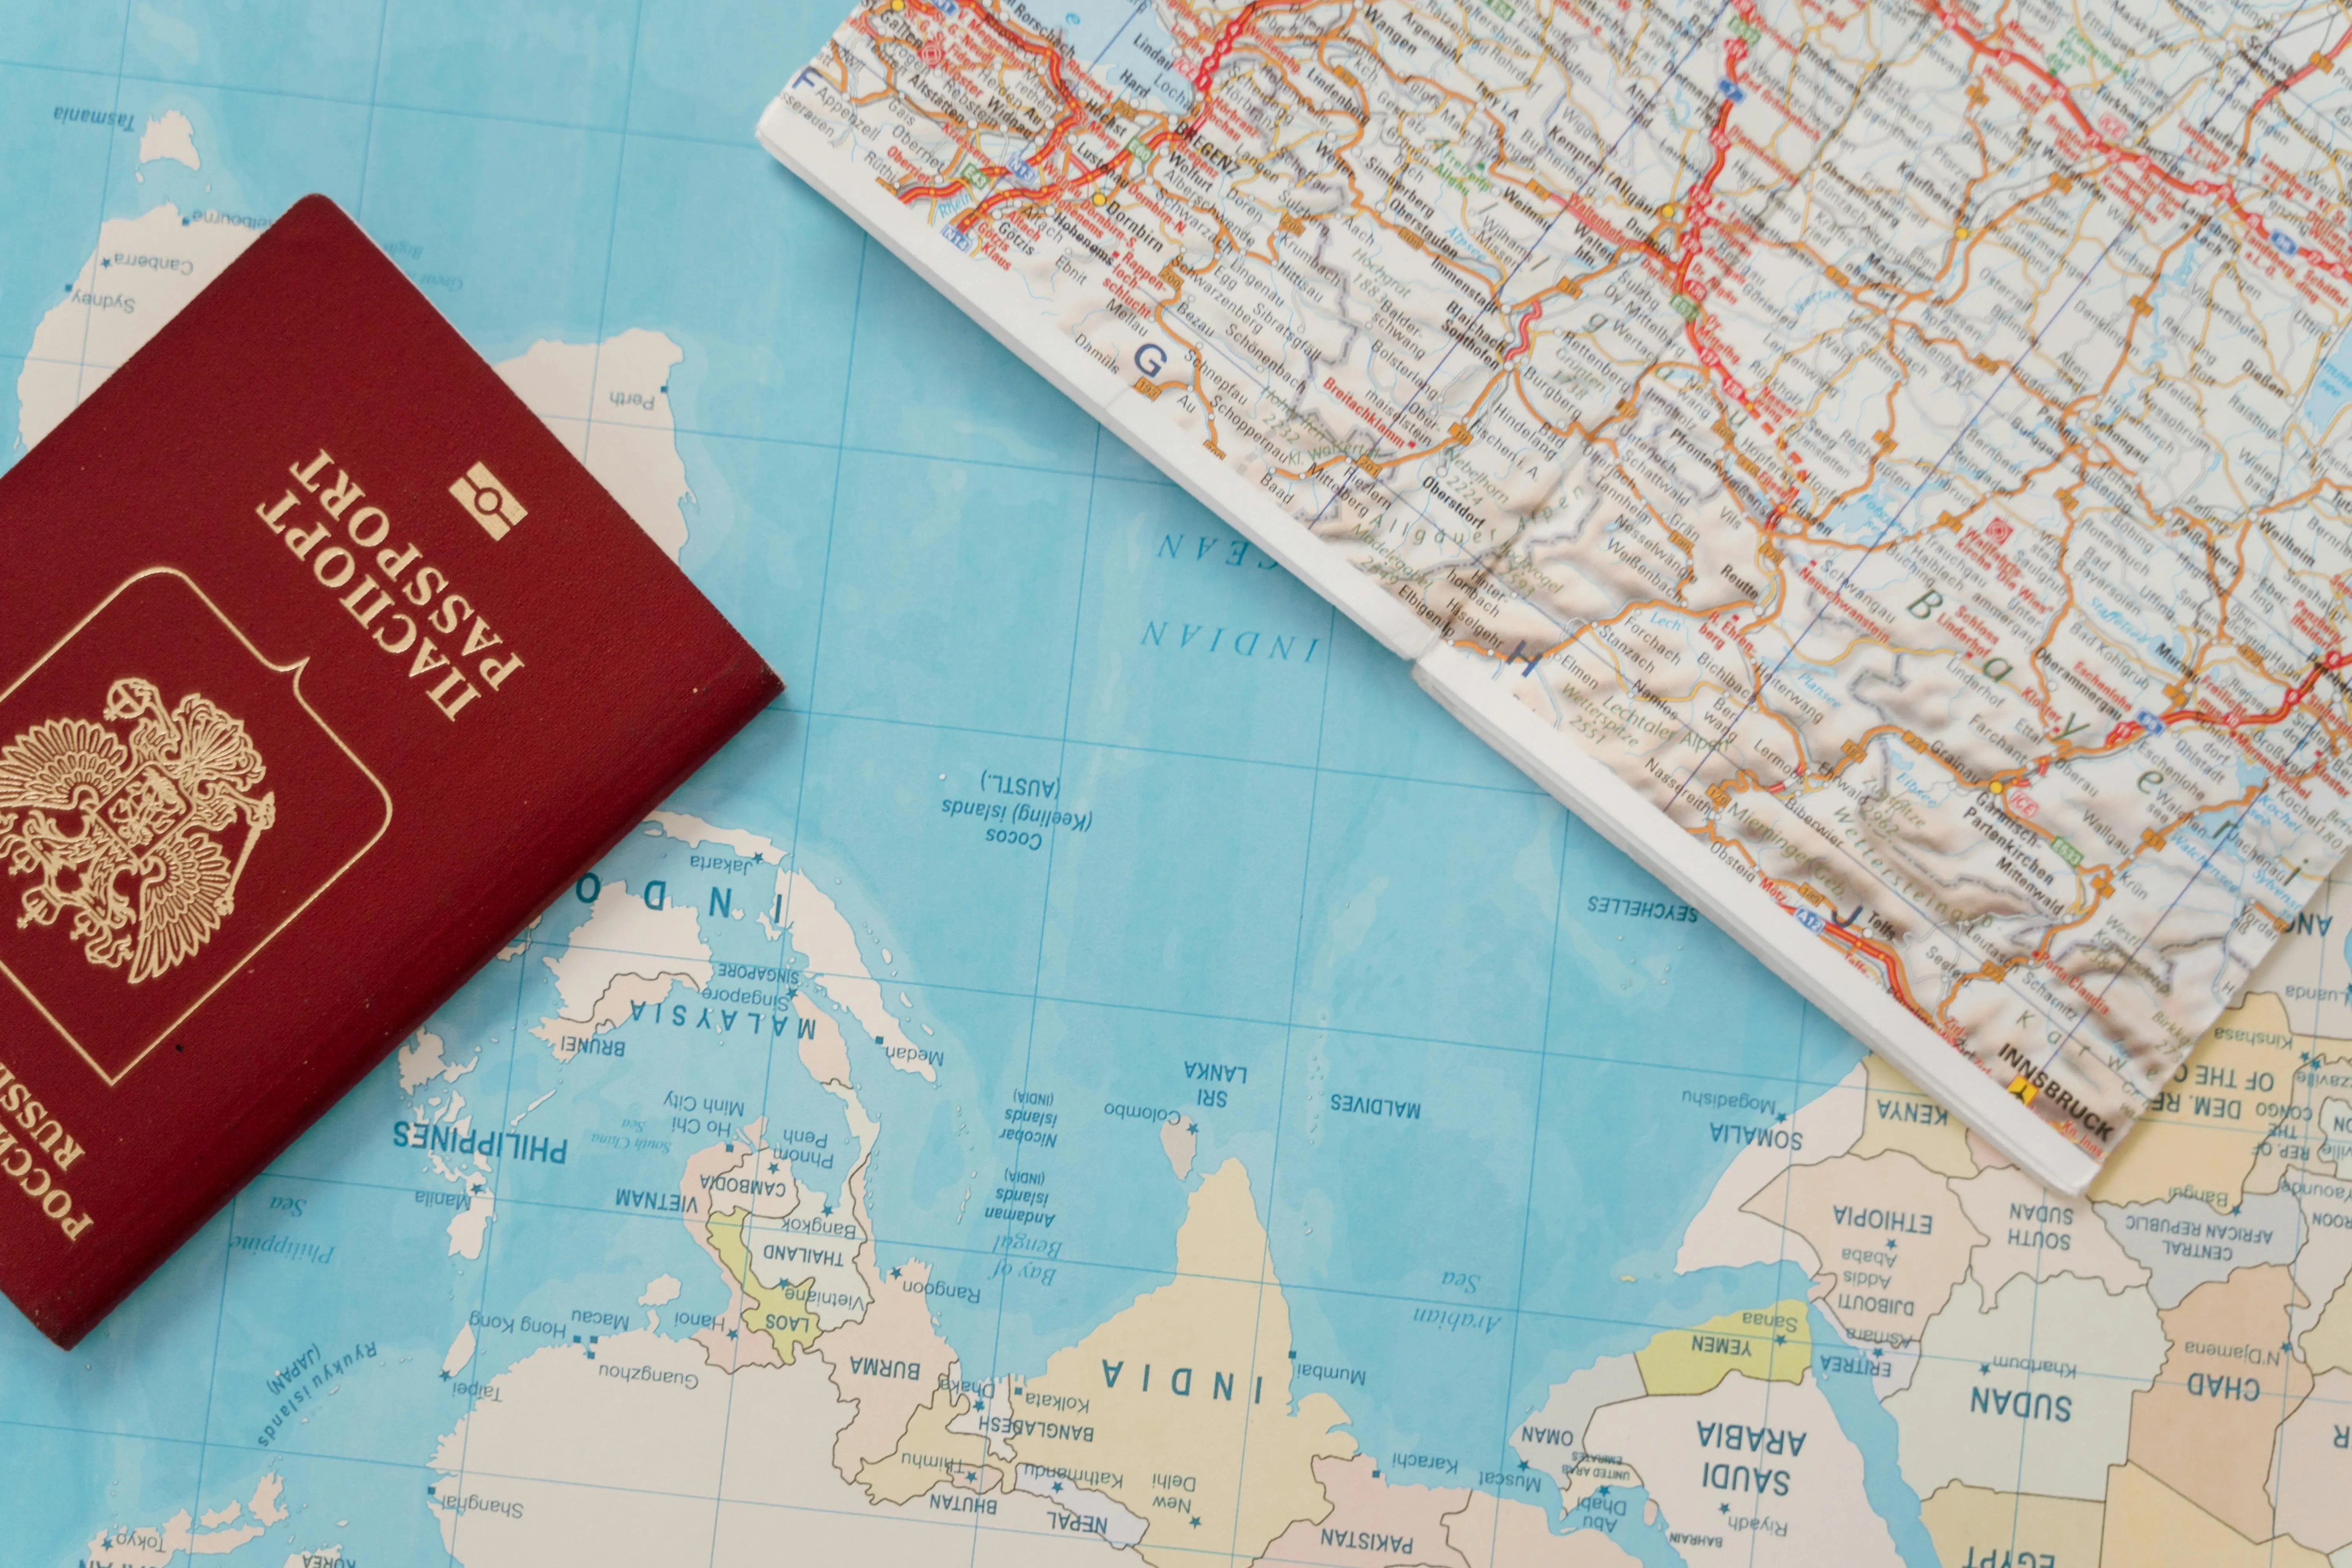
Planning to thru-hike Te Araroa means spending several weeks or even months in New Zealand. To do that legally, you’ll need the correct visa. This guide breaks down all the options, requirements, and tips to help you enter the country and walk the trail stress-free.
Included On This Page:
🧳 Do I Need a Visa?
Whether or not you need a visa to walk Te Araroa depends on your nationality and how long you plan to stay.
Here’s a quick breakdown:
✅ I’m from a Visa Waiver Country (e.g. USA, UK, Canada, most of the EU)
- Stay allowed: up to 3 months, or 6 months for UK citizens.
- What you need: You don’t need a visa, but you must get a New Zealand Electronic Travel Authority (NZeTA) before arriving
- This is best for section-hikers or those planning to do part of the trail within 90 days.
🕐 I’m hiking the full trail (3–6 months)
- What you need: A Visitor Visa
- Stay allowed: 6 months, 3-month extension allowed
- This is the most common visa option for thru-hikers walking the full trail.
👷♂️ I want to stay longer and possibly work too
- Option: A Working Holiday Visa (WHV)
- For people aged 18–30 or 35 (country-dependent)
- Stay allowed: Up to 12 months
- Can work legally while hiking/traveling
- Great for hikers who want to work to fund their trip.
🌍 I’m from a non–Visa Waiver Country
- What you need: A Visitor Visa
- Check your eligibility in advance
- Apply well in advance

✈️ Short Stays (Up to 3 Months)
For Citizens of Visa Waiver Countries:
If you’re from a visa waiver country (like the USA, UK, Canada, most of Europe), you don’t need a traditional visa, but you must apply for an NZeTA before arriving.
- Apply for an NZeTA: https://nzeta.immigration.govt.nz/
- Cost: NZD $17–23 for the NZeTA
- Additional cost: You’ll also be charged an International Visitor Conservation and Tourism Levy (IVL) of NZD $35
- Visit up to 3 months, or 6 months for UK citizens
- Valid for multiple entries over 2 years
- Stay up to 90 days per visit
- Takes up to 72 hours to process application
- Can apply for other visa types once you have arrived
Perfect for section-hikers or those splitting the trail into shorter visits.
🕐 I’m hiking the full trail (3–6 months) Visitor Visa (Tourist)
If you want to walk the whole trail (which takes 3–6 months), you’ll most likely need a Visitor Visa.
- Apply online: https://www.immigration.govt.nz/new-zealand-visas/visas/visa/visitor-visa
- Cost: Around NZD $341
- Processing time: 80% within ~15–30 days
- You can stay for up to either 6 months (multiple entry) or 9 months (single entry)
- To be eligible, you must have been out of New Zealand for at least 9 months in the 18-month period before you apply.
- Don’t get confused it the visa says, “The holder shall not study for more than 3 months in every 12-month period in NZ,” (you can still stay 6-9 months, but you can only study for 3 of those months)
- You may need:
- A detailed itinerary (mention hiking Te Araroa)
- Proof of funds (NZD $1,000/month or $400/month if accommodation is prepaid)
- Return/onward ticket
- Travel insurance
Tip: Emphasize that you’re hiking as a tourist for cultural and recreational purposes, not working or seeking residency.
👷 Working Holidays (Ages 18–30/35)
If you’re eligible for a Working Holiday Visa, it gives you up to 12 months in New Zealand and lets you legally earn money during your stay.
- Apply here: https://www.immigration.govt.nz/new-zealand-visas/options/work/thinking-about-coming-to-new-zealand-to-work/working-holiday-visa
- Limited annual quotas for some countries
- Typically must use visa within 1 year of it being granted.
- Great if you want to work to fund your hike or explore more of NZ
- Gives you options and security if you need to work, and it allows you to complete the trail at your leisure.
- If you are from Canada, you can extend your stay up to 23 months, and up to 36 months if you are from the United Kingdom.
🌍 If You’re From a Non-Visa Waiver Country
You’ll need to apply for a Visitor Visa before arriving.
- Apply online: https://www.immigration.govt.nz/new-zealand-visas/visas/visa/visitor-visa
- Cost: Around NZD $341
- Processing time: 80% within ~15–30 days
- You can stay for up to either 6 months (multiple entry) or 9 months (single entry)
You may need to submit:
- Proof of accommodation and onward travel
- Financial support (bank statements)
- Medical or travel insurance
- Return ticket
- Full English language translations must be provided for any documents not in English.
Scroll to the bottom and use the visa tool to check your eligibility:
👉 https://www.immigration.govt.nz/new-zealand-visas/visas/visa/visitor-visa
🗓️ When Should I Apply?
Immigration New Zealand advises travelers to apply for their visas at least 3 months before their intended travel date. This is especially important during peak periods, such as the holiday season, when processing times may be longer. For example, travelers planning to arrive for Christmas are advised to submit their applications by 15 September.
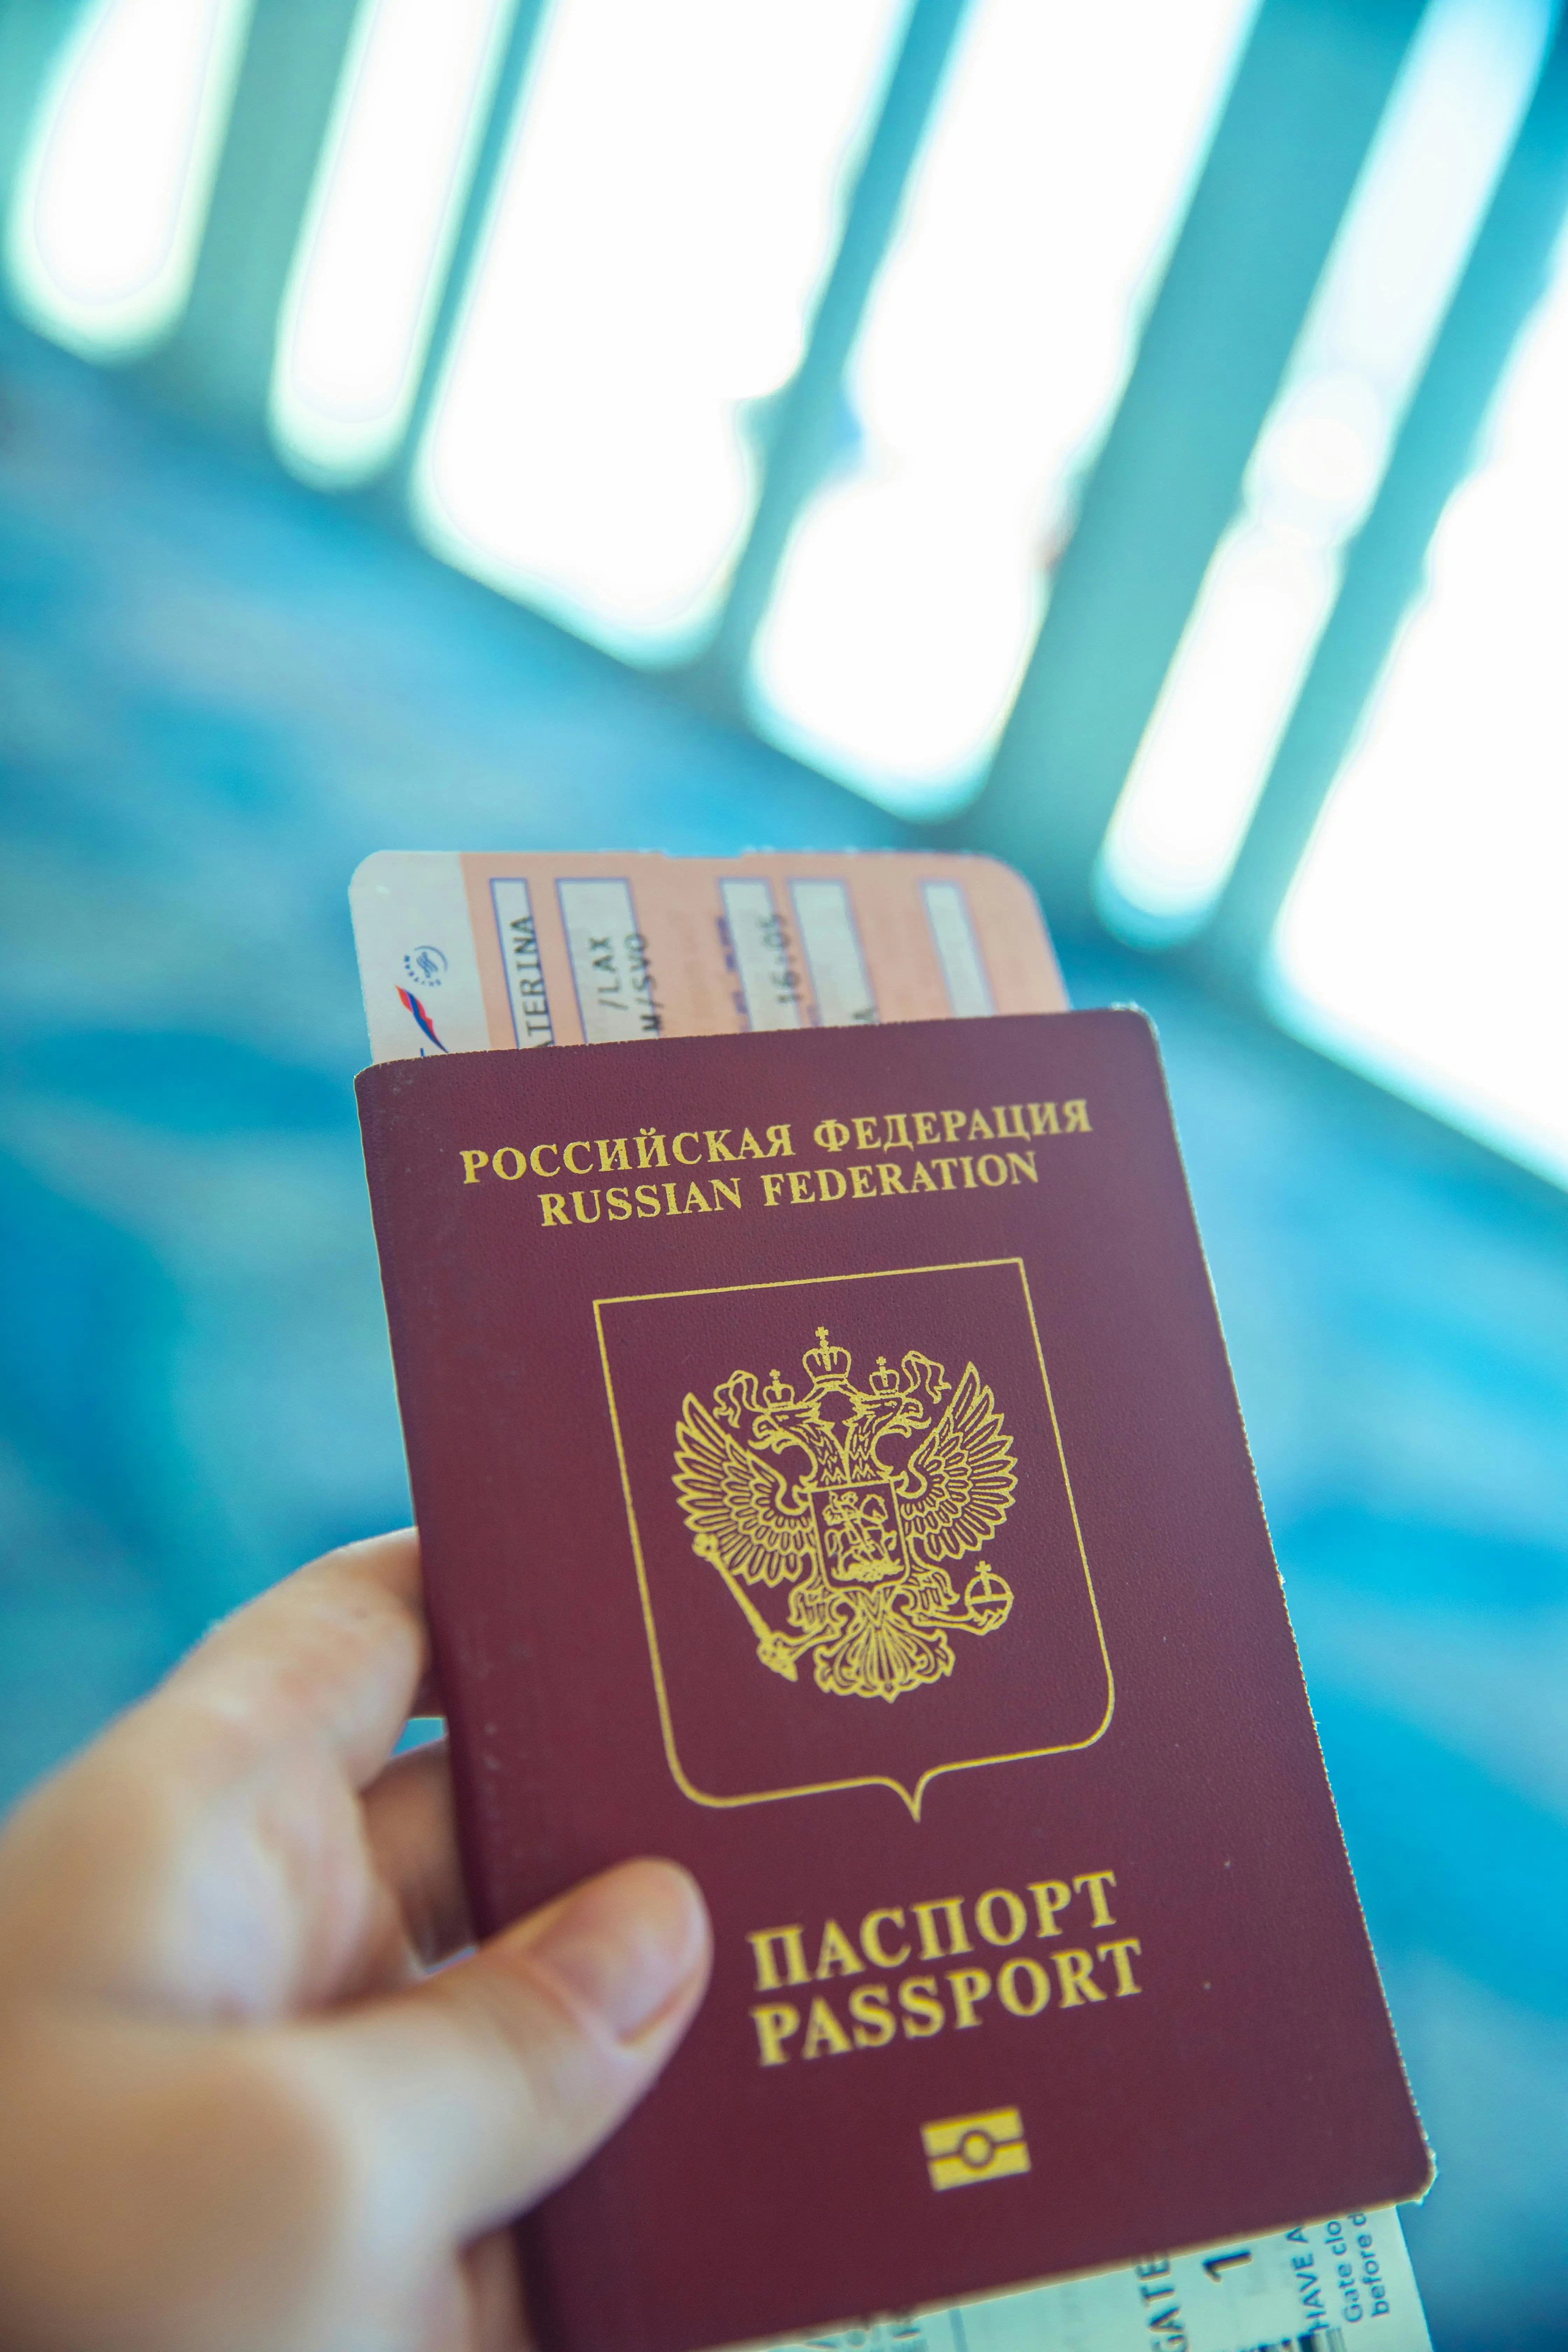
✅ How to Apply for a New Zealand Visitor Visa
To apply for a Visitor Visa, follow these steps:
- Create a RealMe account: This is required for online applications.
- Prepare your documents: You’ll need a valid passport, a recent photograph, proof of sufficient funds, a return or onward travel ticket, and a travel itinerary.
- Complete the online application: Fill out the Visitor Visa application form and upload your documents.
- Pay the application fee: Fees vary depending on your country of origin.
- Submit your application: Once submitted, you can track the status of your application online.
- For detailed information and to start your application, visit the Immigration New Zealand Visitor Visa page.

Tips for a Successful Application:
- Be honest and clear: When stating your purpose of visit, mention that you’re planning to hike Te Araroa as a tourist.
- Provide a basic itinerary: Even if trail registration hasn’t opened, outline your intended travel dates and general plan.
- Ensure all documents are accurate and complete: Incomplete applications can lead to delays.
- Monitor processing times: Stay informed about current processing times to ensure timely approval.
How to Apply Before Trail Registration Opens?
The visa application process is independent of trail registration, allowing you to secure your visa in advance and be ready when registration becomes available.
To apply before trail registration opens, include the following:
- Outline of your plans, including when you plan to arrive in the country, when you plan to start the hike, and when you plan to finish the hike
- Your budget
- Pictures of you with your gear
- Tip: professionally format everything!
🧾 At the Border: What to Bring
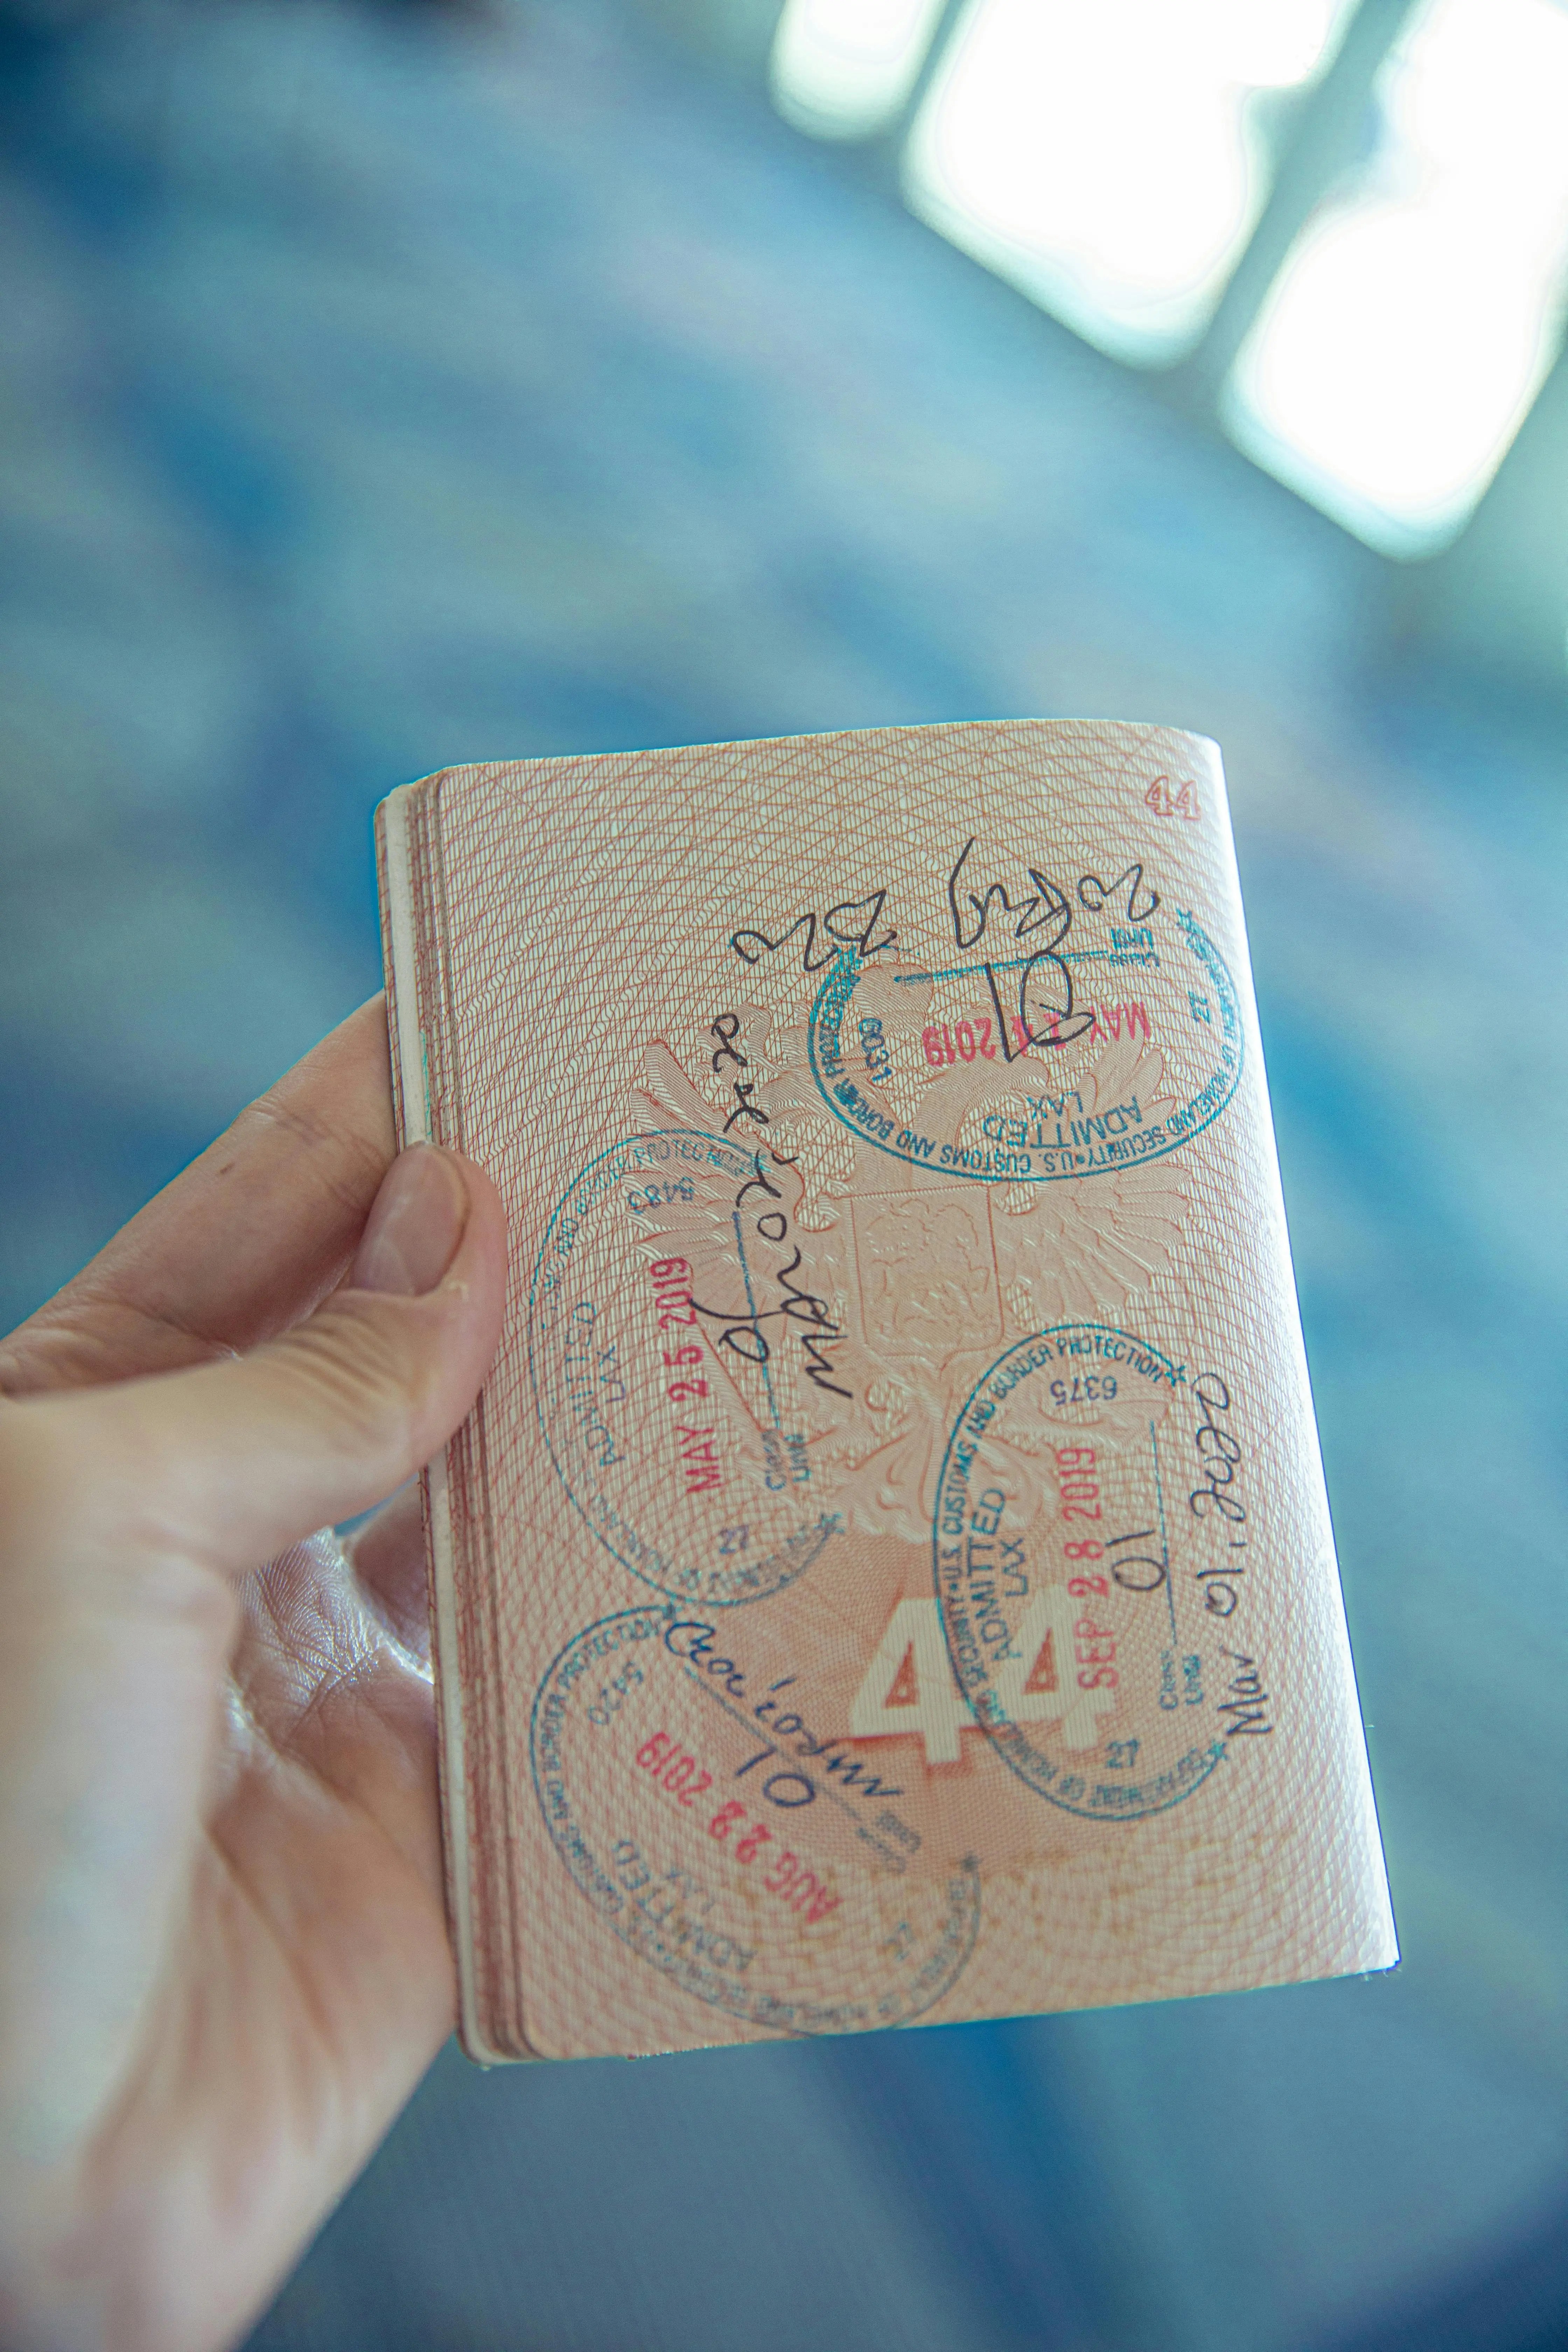
- NZeTA or printed visa approval
- Return or onward ticket
- Bank statement or credit card (proof of funds)
- Trail itinerary (just a basic outline is fine)
- Proof of insurance (medical coverage encouraged)

📌 Pro Tips for Hikers
- Be honest about your intentions: hiking, tourism, and cultural exploration
- Avoid saying you plan to “live” or “work” in NZ unless on a Working Holiday Visa
- Carry a basic printout of your itinerary and budget
- Travel insurance that covers hiking is highly recommended
- Don’t overstay your visa — penalties can impact future travel
Final Thoughts
Getting a visa to hike Te Araroa is straightforward with the right preparation. Most hikers use either an NZeTA (short hikes) or a Visitor Visa (full trail), while others choose a Working Holiday Visa for extra flexibility. Apply early, carry the right documentation, and you’ll be ready to step off the plane and onto the trail with confidence.
