
Planning Food for Walking the Te Araroa Trail
Walking the 3,000 km Te Araroa Trail requires serious planning—especially when it comes to food. You’ll need to balance weight, nutrition, cost, and resupply logistics across months of remote terrain and towns with limited options. This guide walks you through how to plan your food for the trail, what to pack, where to buy, and how to manage it all on foot.
Included On This Page:
How Much Food Do You Need?
Expect to eat 3,000–5,000 calories per day depending on your weight, pace, and the terrain. For most hikers, this breaks down to about:
- 600–800g of food per day (roughly 1.5 to 2 pounds)
- A resupply every 4–7 days, depending on your route and how remote the section is

Key Food Planning Principles
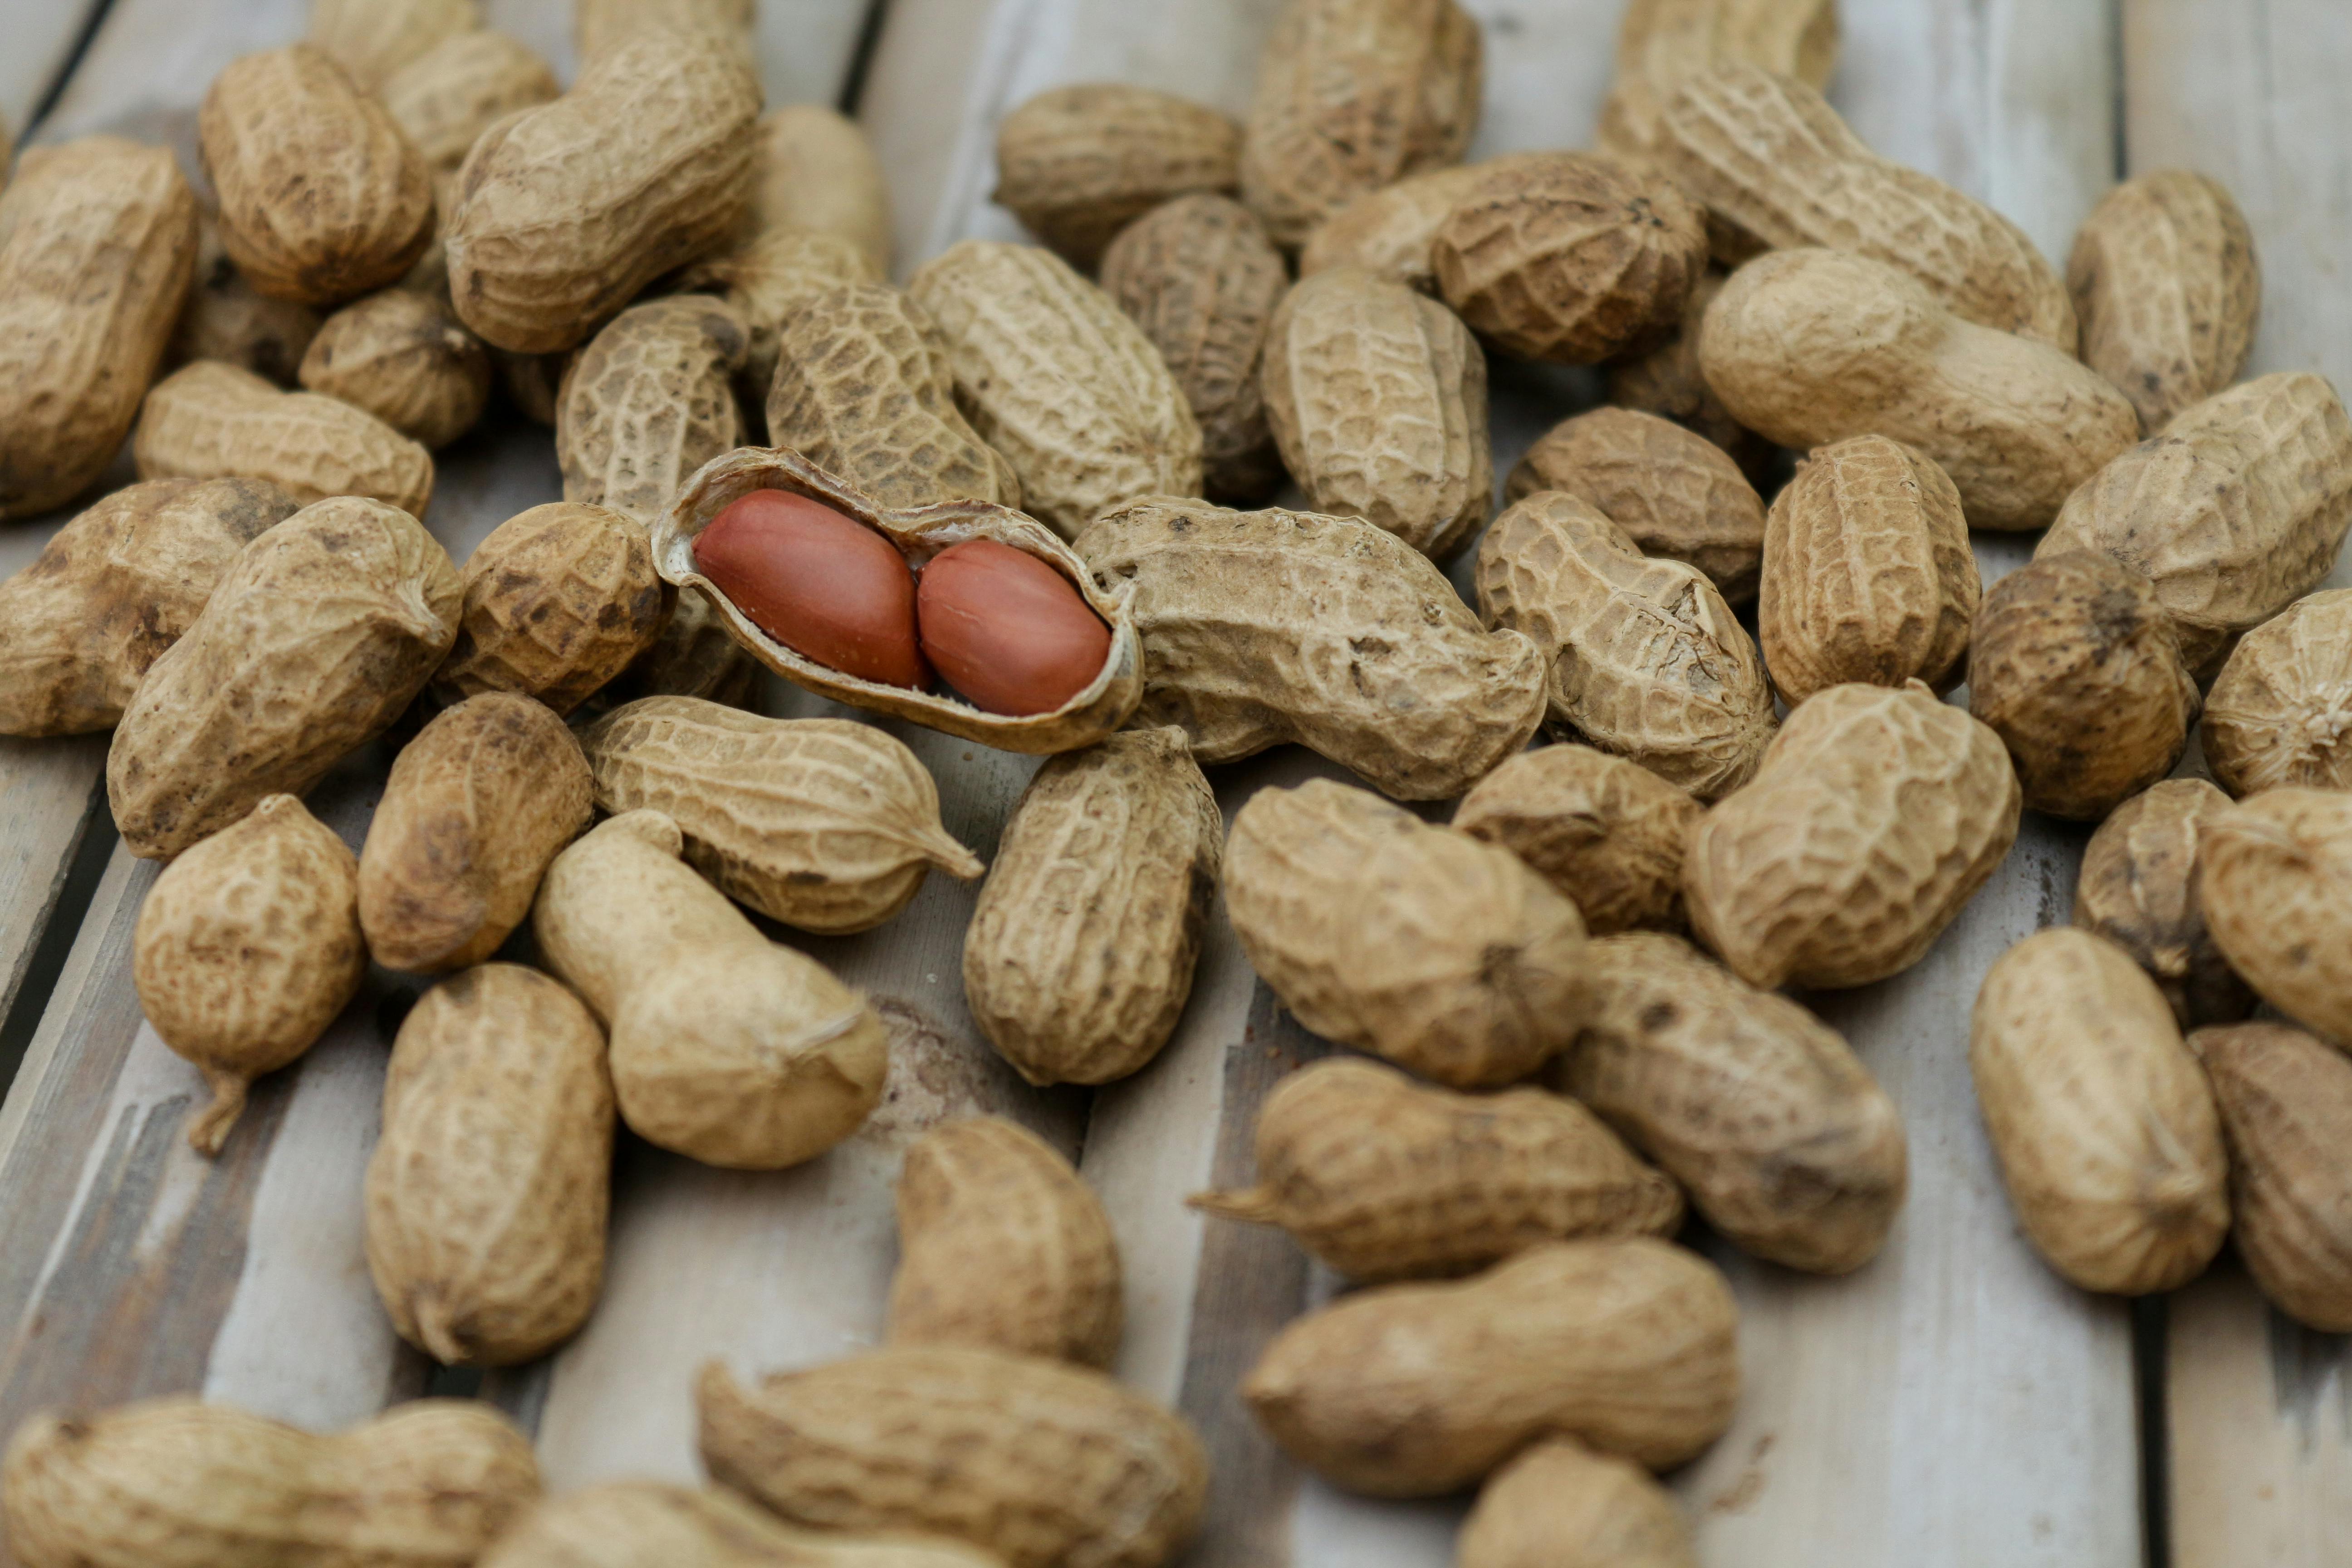
- Calories Per Gram
Look for lightweight, high-calorie foods (nuts, peanut butter, dehydrated meals). - Shelf Stability
You won’t have a fridge, so avoid anything perishable. - Cook vs No-Cook Options
Many hikers carry a lightweight stove, but some go stoveless to save weight and time. - Resupply Planning
Some sections have frequent towns; others (like parts of the South Island) require sending resupply boxes ahead. - Nutrition Balance
Aim for carbs for fuel, fats for calorie density, and protein for recovery. Don’t forget fiber and electrolytes.
Types of Food Stores on the Trail
You’ll find a mix of store types across the trail. Here’s what to expect:

🛒 Supermarkets (e.g. Countdown, New World, Pak’nSave)
Found in larger towns (Auckland, Wellington, Queenstown, etc.)
Great for full resupplies
Budget-friendly with wide variety, including gluten-free and vegetarian options
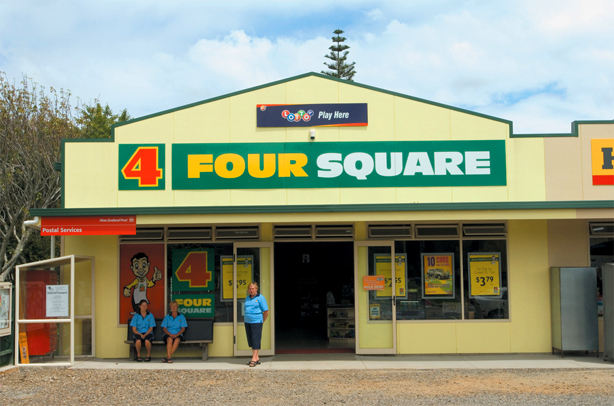
🟨 Four Square Stores
Small-town grocery chains, common throughout New Zealand
Carry essentials, some trail snacks, basic produce, and instant meals
More expensive and limited than full supermarkets
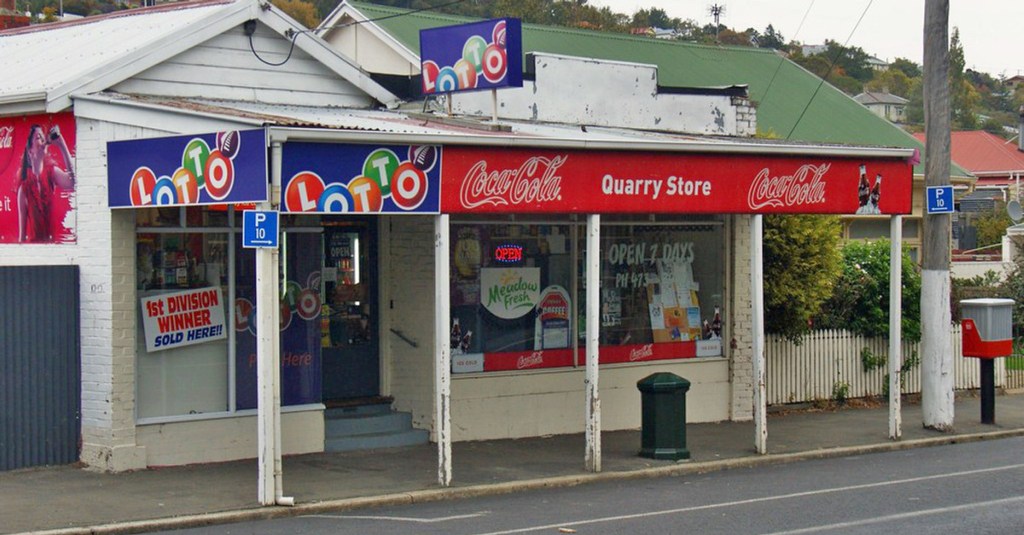
🛍️ Dairies (Corner Shops)
Tiny convenience stores
Useful for top-ups (snack bars, candy, drinks)
Often lack healthy or specialty foods
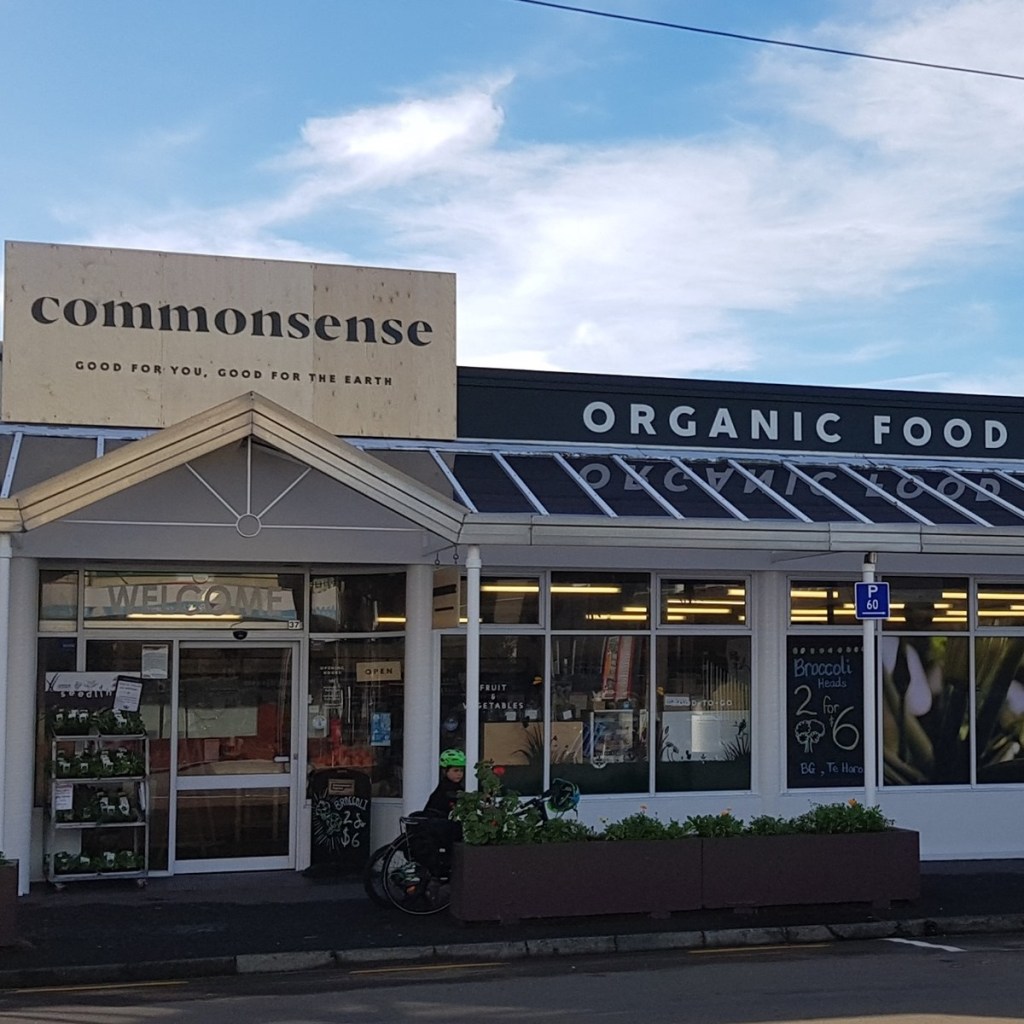
🧺 Organic/Health Food Stores
Found in some larger towns (Wellington, Nelson, Queenstown)
Good for gluten-free, dairy-free, or vegan supplies
Higher cost, limited range
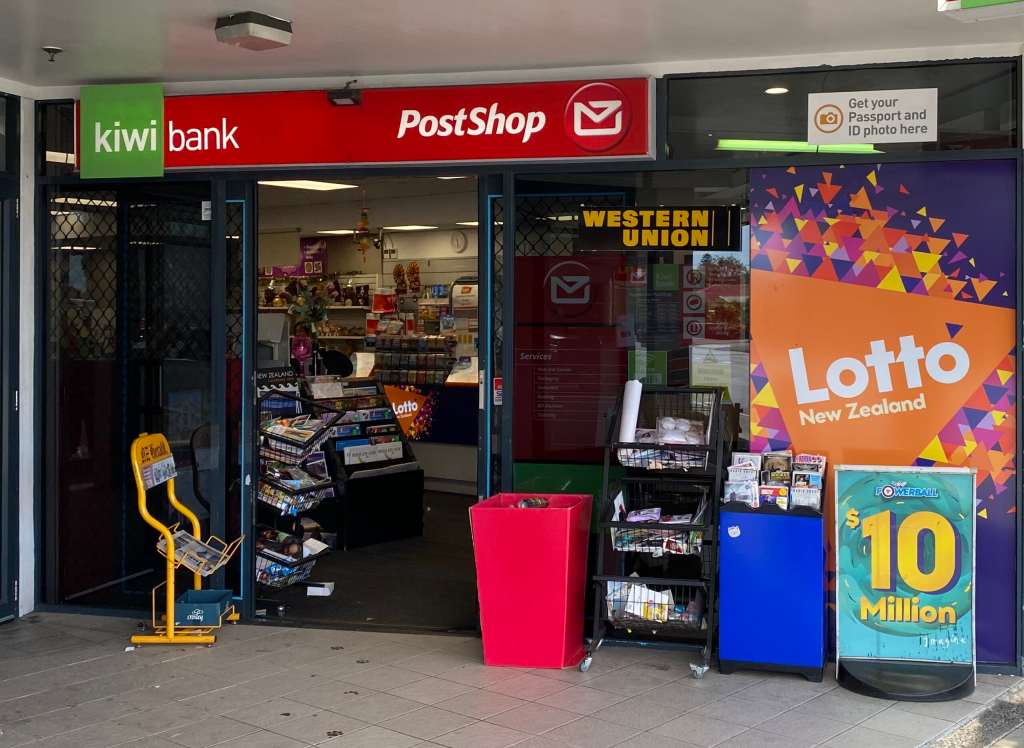
📦 Post Offices or Hostels (for bounce boxes)
- Accept resupply boxes in remote areas
- Always call or email ahead to confirm they’ll hold your package and for how long
Where to Resupply on the Trail
North Island
- Regular town stops every few days: Kerikeri, Whangarei, Auckland, Hamilton, Taumarunui, Palmerston North, Wellington
- Supermarkets, Four Square shops, and dairies (small corner shops)
South Island
- Towns are smaller and farther apart: Picton, Havelock, St Arnaud, Boyle Village (limited), Arthur’s Pass, Tekapo, Queenstown
- Note that in the sections where southbound walkers meet northbound walkers during the peak season, there is a high chance that supplies won’t be available if there have been lot of Te Araroa walkers.
- Some locations require sending food drops ahead via post or hostel (e.g., Boyle River Outdoor Education Centre).
Tips:
- Make a resupply spreadsheet with distances, days between towns, and post office addresses
- Send boxes ahead for hard-to-reach or understocked towns
- Buy local where you can support small Kiwi communities
Nutrition on the Trail

Carbs (Energy)
- Instant oats
- Couscous, instant rice, ramen noodles
- Wraps or pita bread
- Muesli bars

Protein
- Peanut butter sachets
- Tuna or salmon pouches
- Protein powder
- Jerky or salami
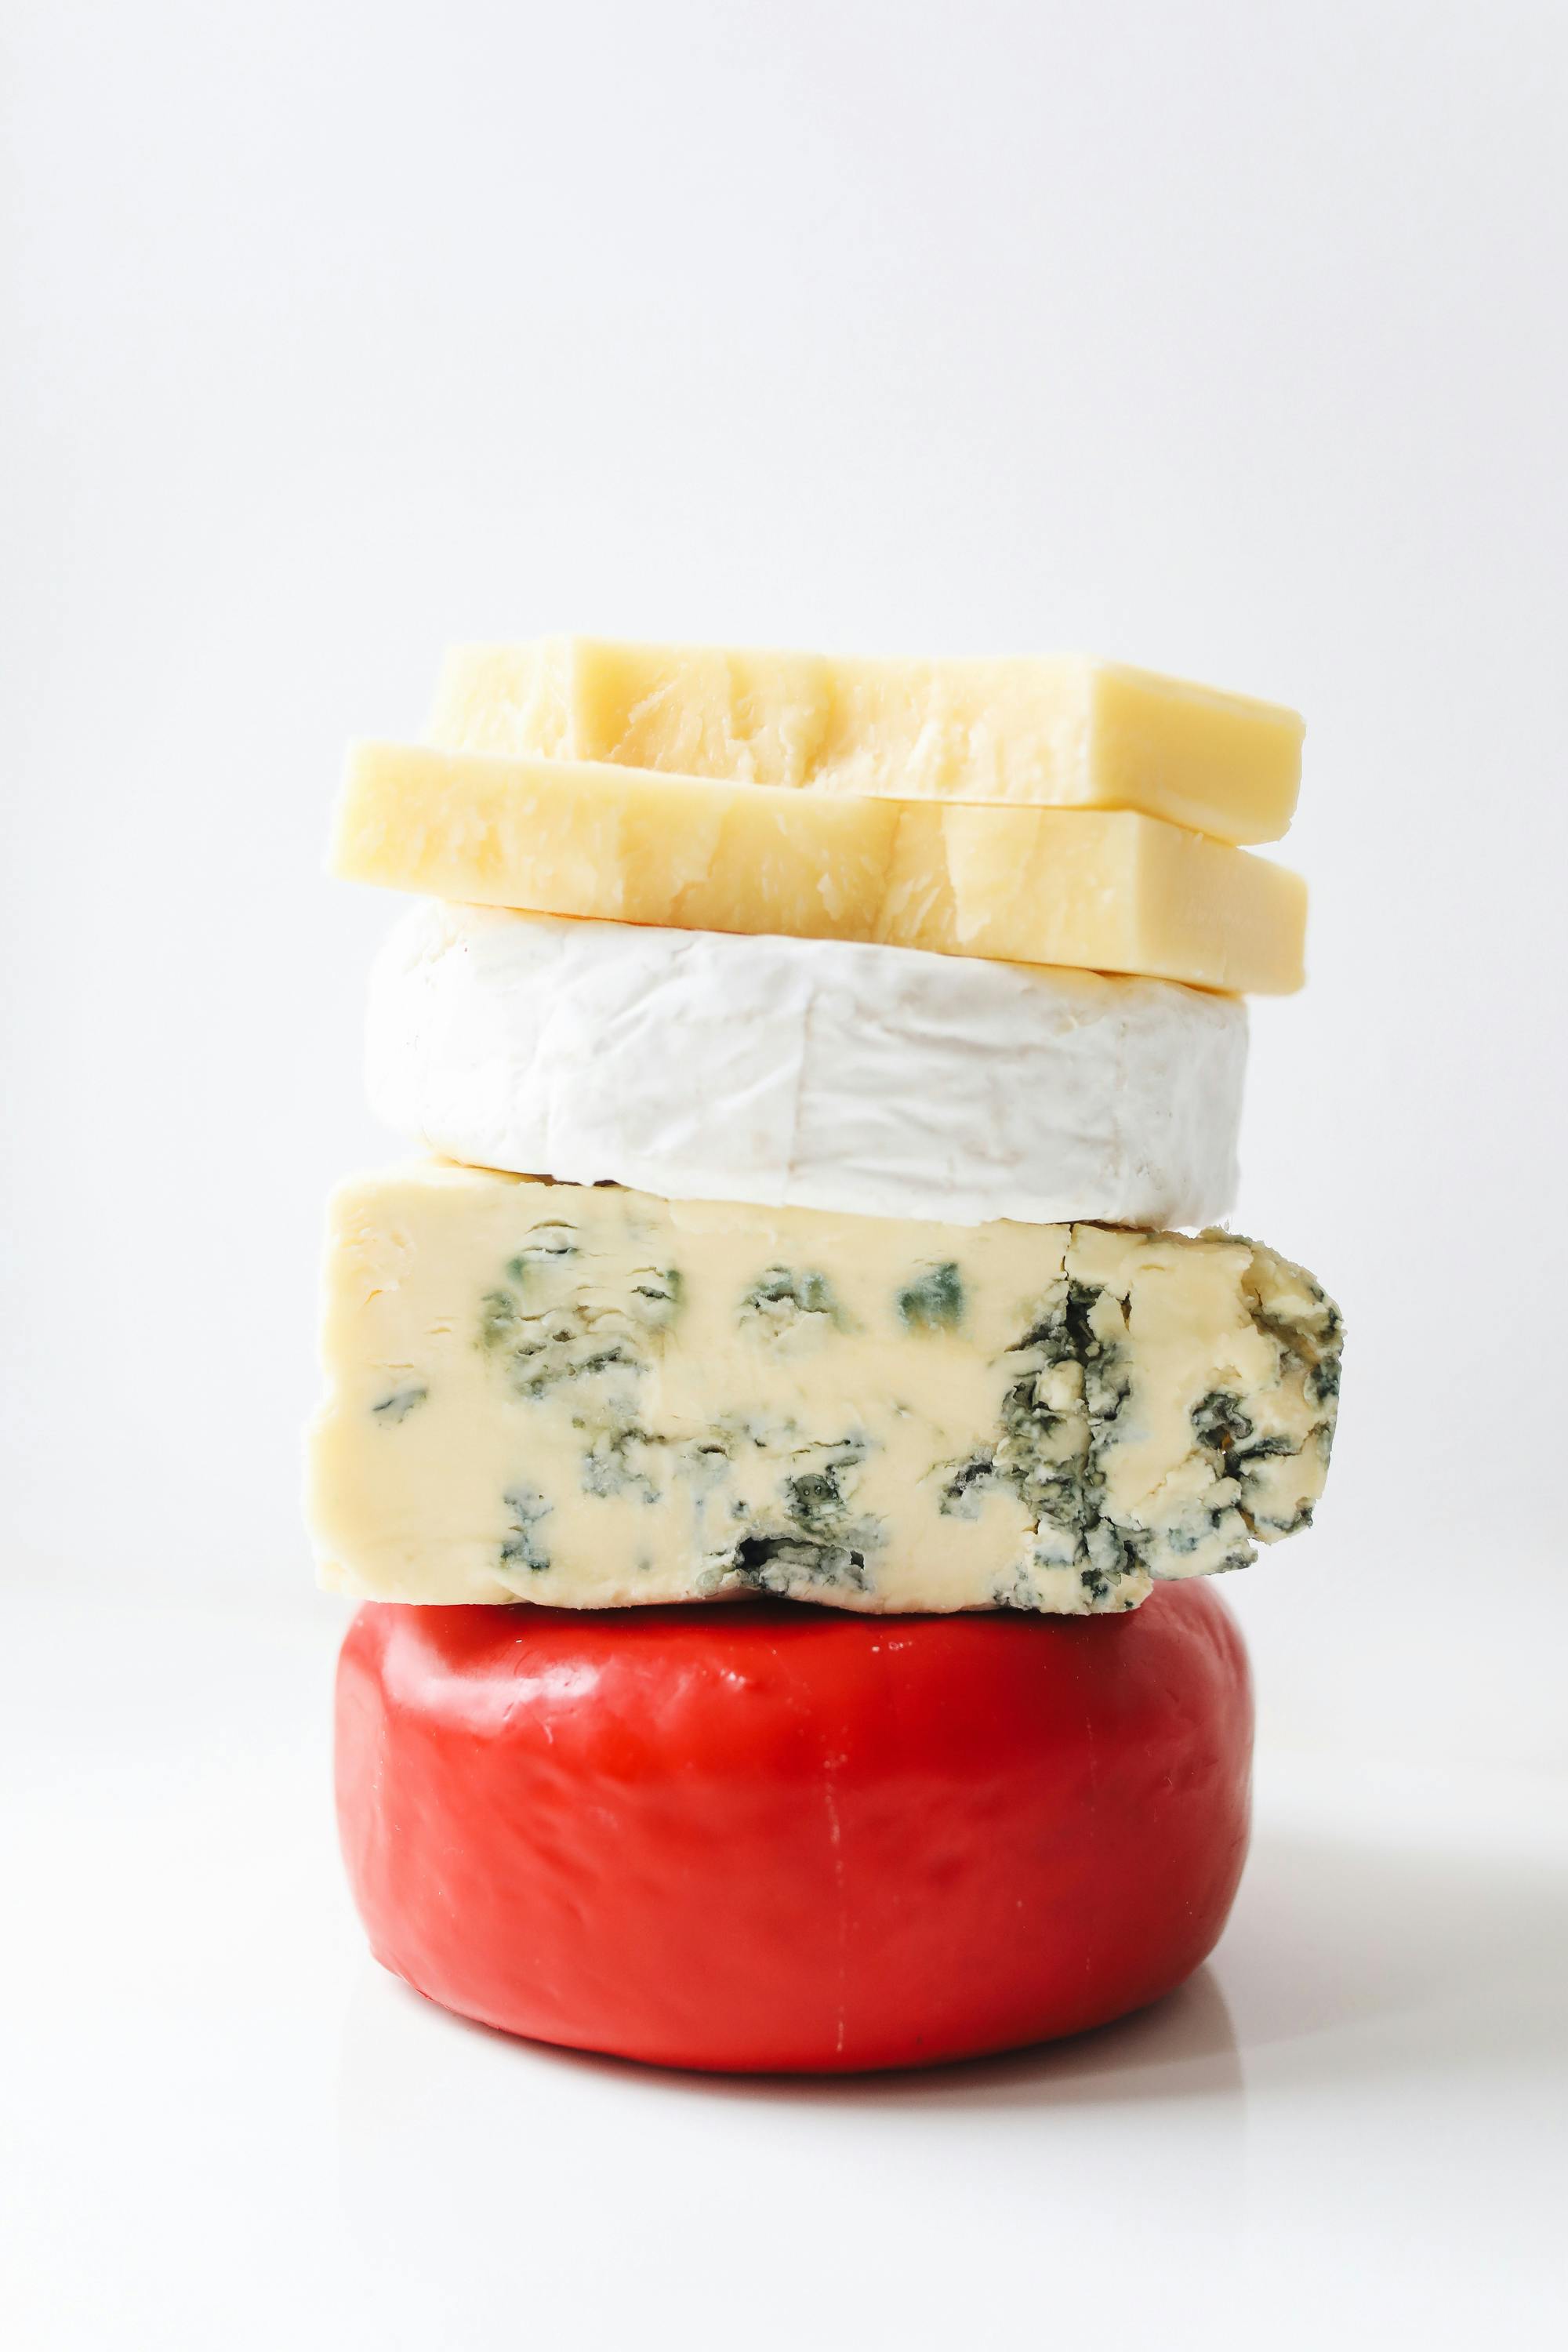
Fats (Calories)
- Nuts and seeds
- Coconut oil sachets
- Cheese (for short stints)
- Dark chocolate

Flavor & Morale Boosters
- Salt and pepper, herbs, chili flakes
- Hot sauce in mini bottles
- Drink sachets (electrolytes, powdered coffee)
Sample Daily Trail Menu
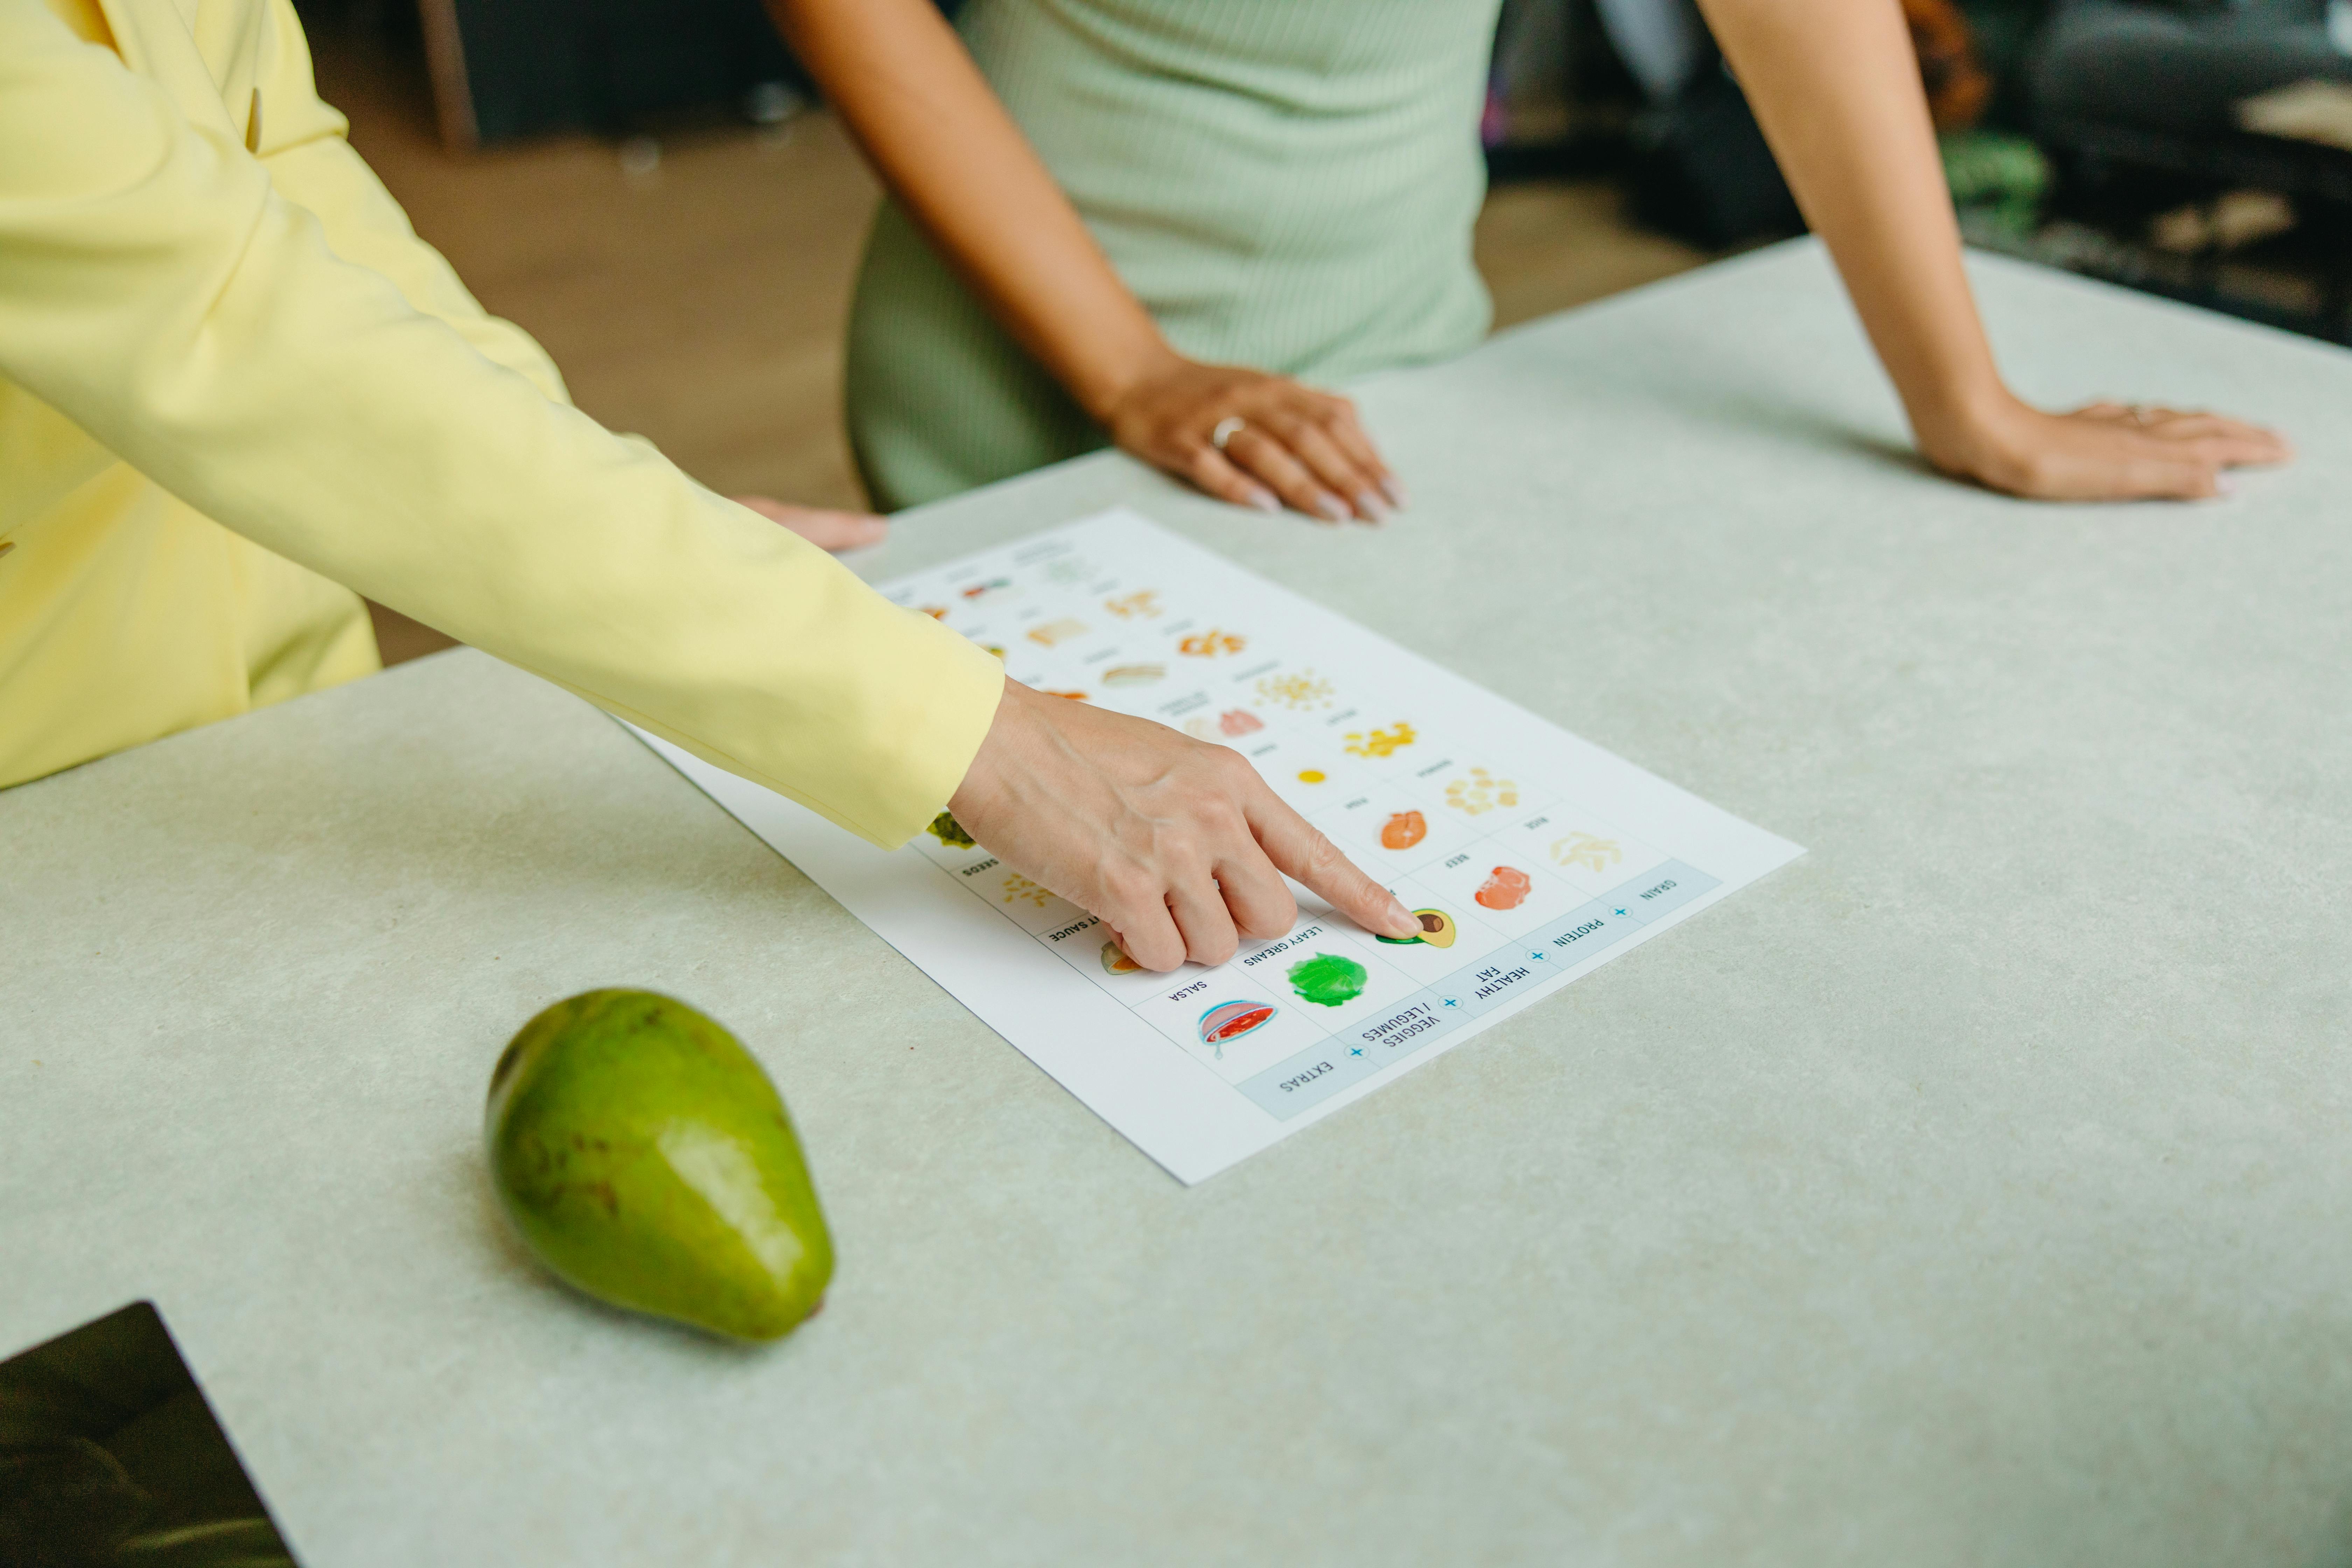
Planning Food with Allergies or Dietary Restrictions
Whether you’re gluten-free, vegan, allergic to nuts, or have another restriction, you can still thru-hike Te Araroa, but you’ll need to plan ahead.
Tips:
- Buy specialty items in major cities and ship them ahead in bounce boxes
- Bring small containers of allergen-safe spices and condiments
- Label your boxes clearly: “Contains Gluten-Free Vegan Trail Meals – DO NOT SUBSTITUTE”
- Double-check ingredients on unfamiliar New Zealand brands
- Inform hut companions if you have severe allergies (especially nut or dairy)
- For severe allergies, carry an EpiPen, antihistamines, and medical ID
Dehydrating Your Own Meals
One of the best ways to save money and eat exactly what you want is to dehydrate your own meals before the trail. You’ll get lightweight, calorie-dense meals tailored to your taste and dietary needs. What you can dehydrate:
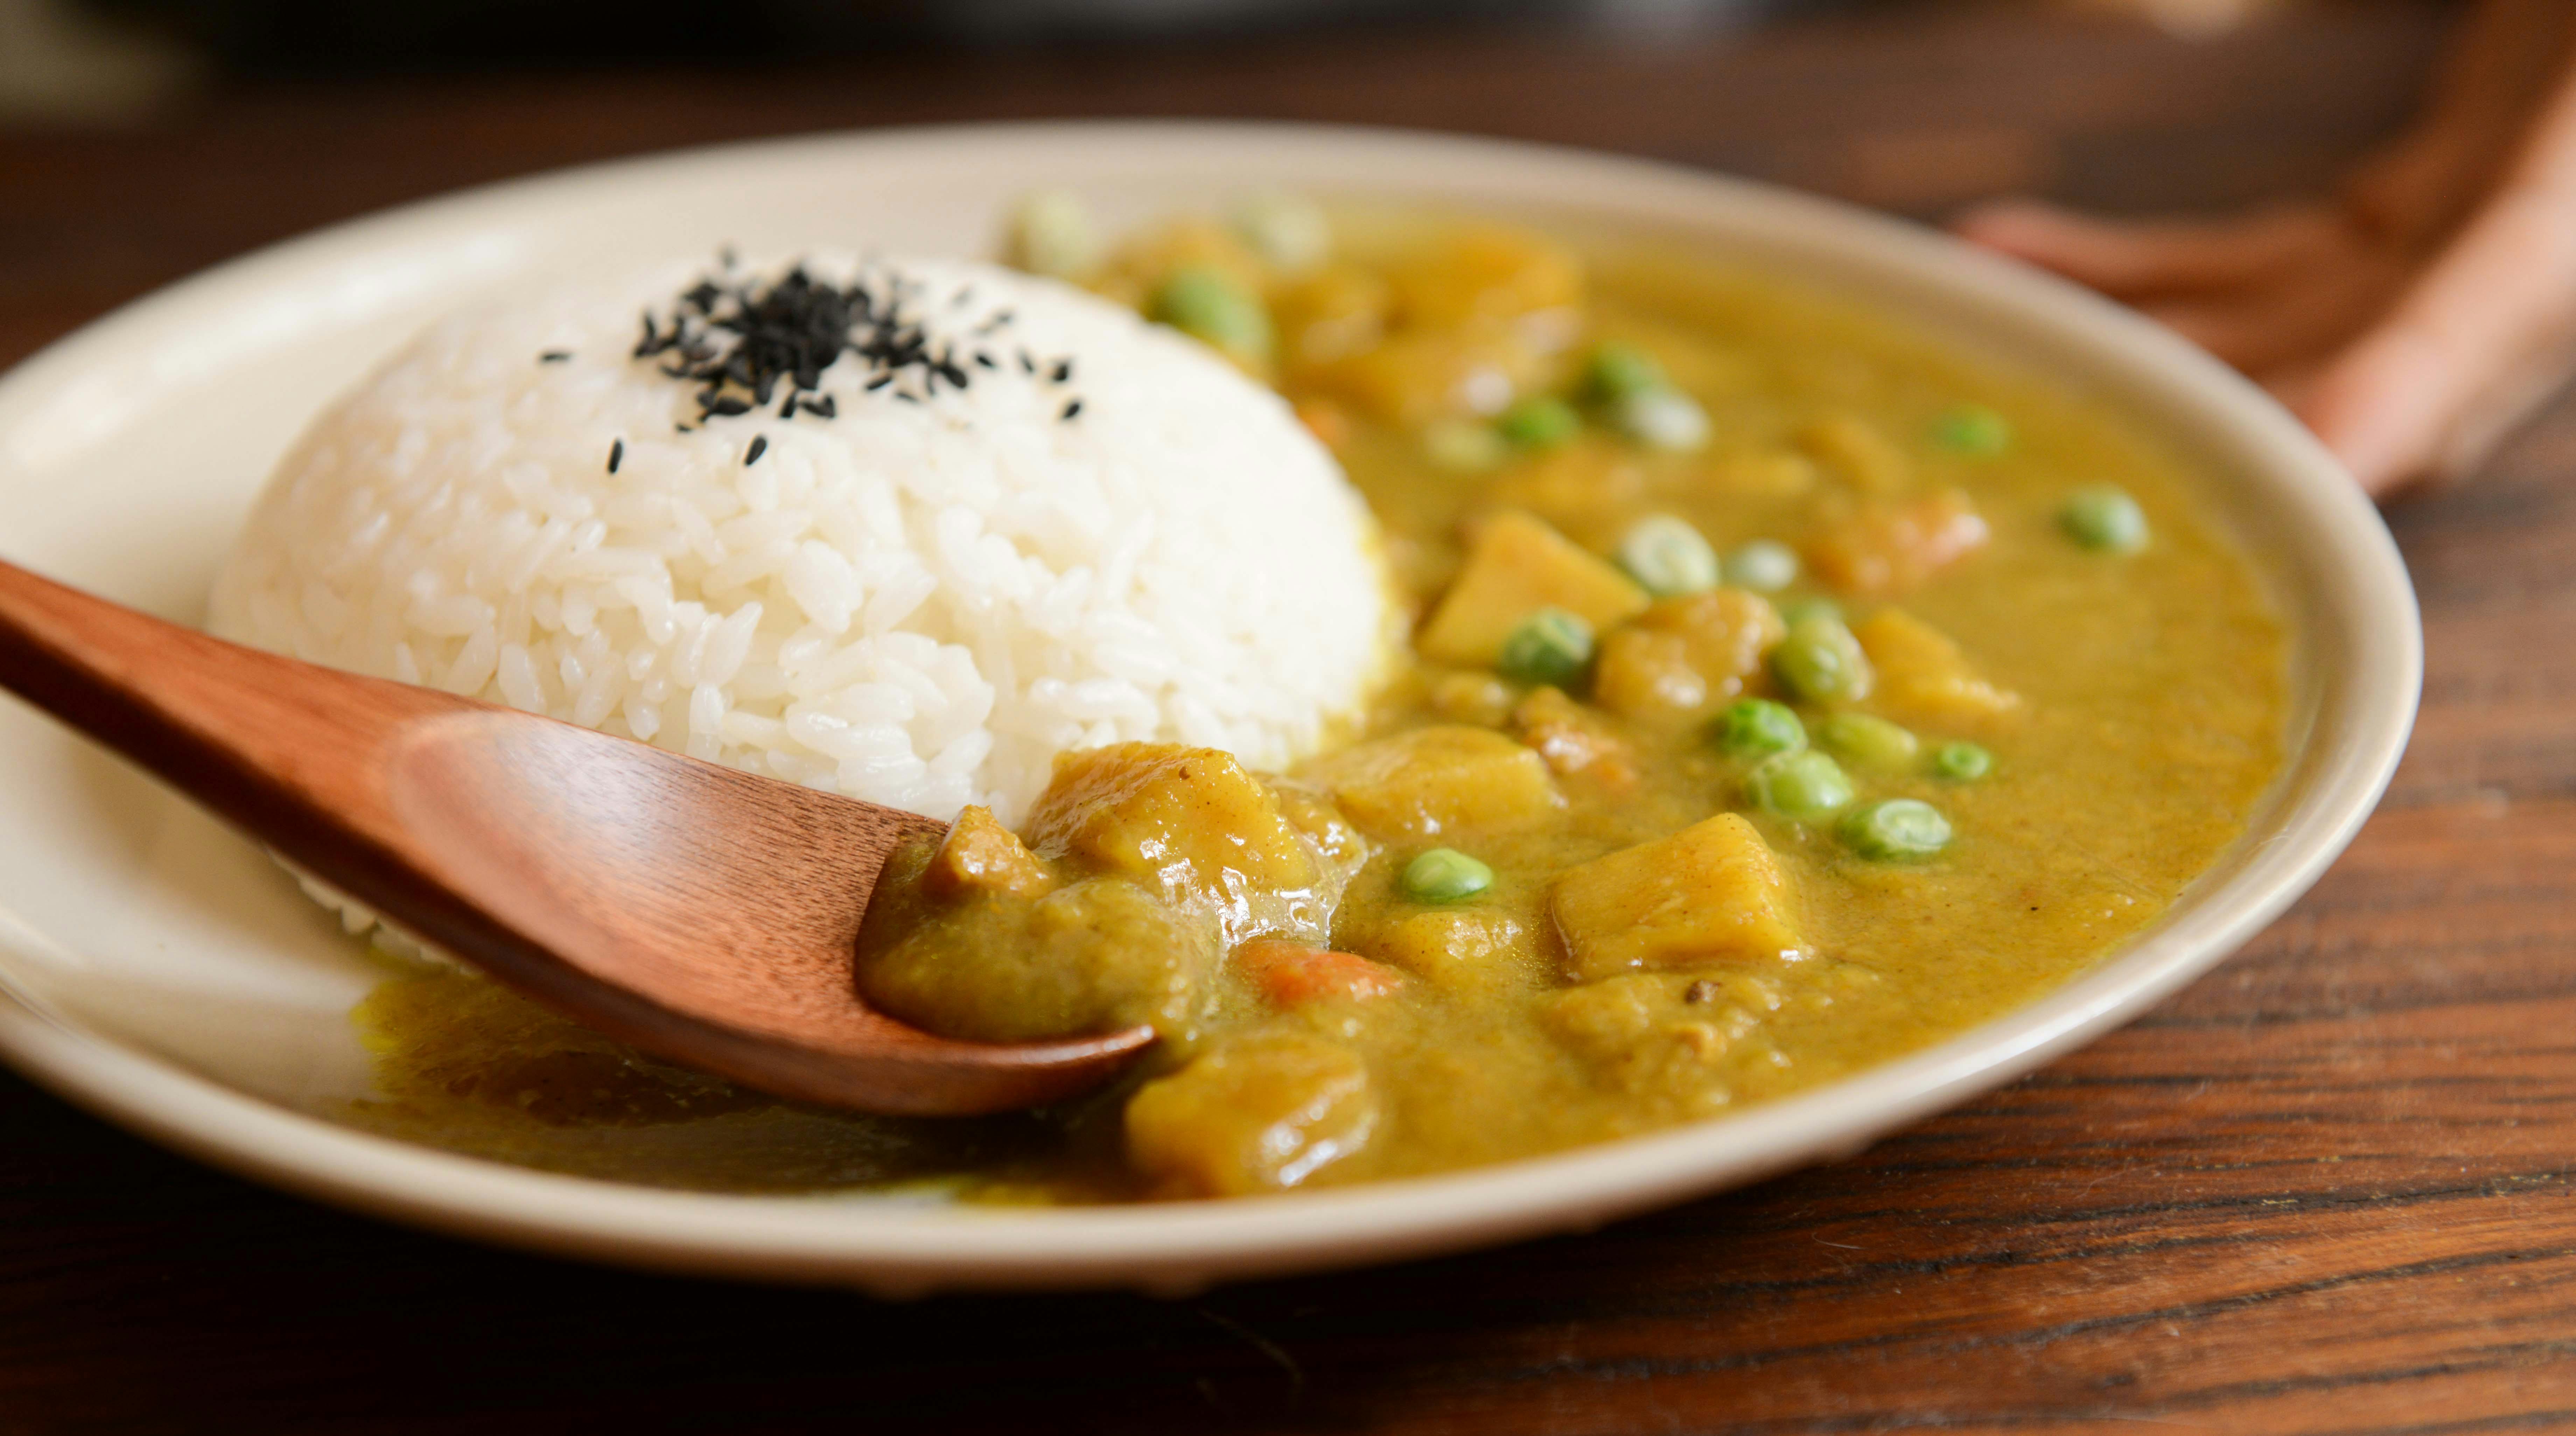
Meals
- Pasta sauce, curries, stews, chili, risotto, stir fry.
- By dehydrating entire meals, you don’t have to do any food prep when you are on the trail.
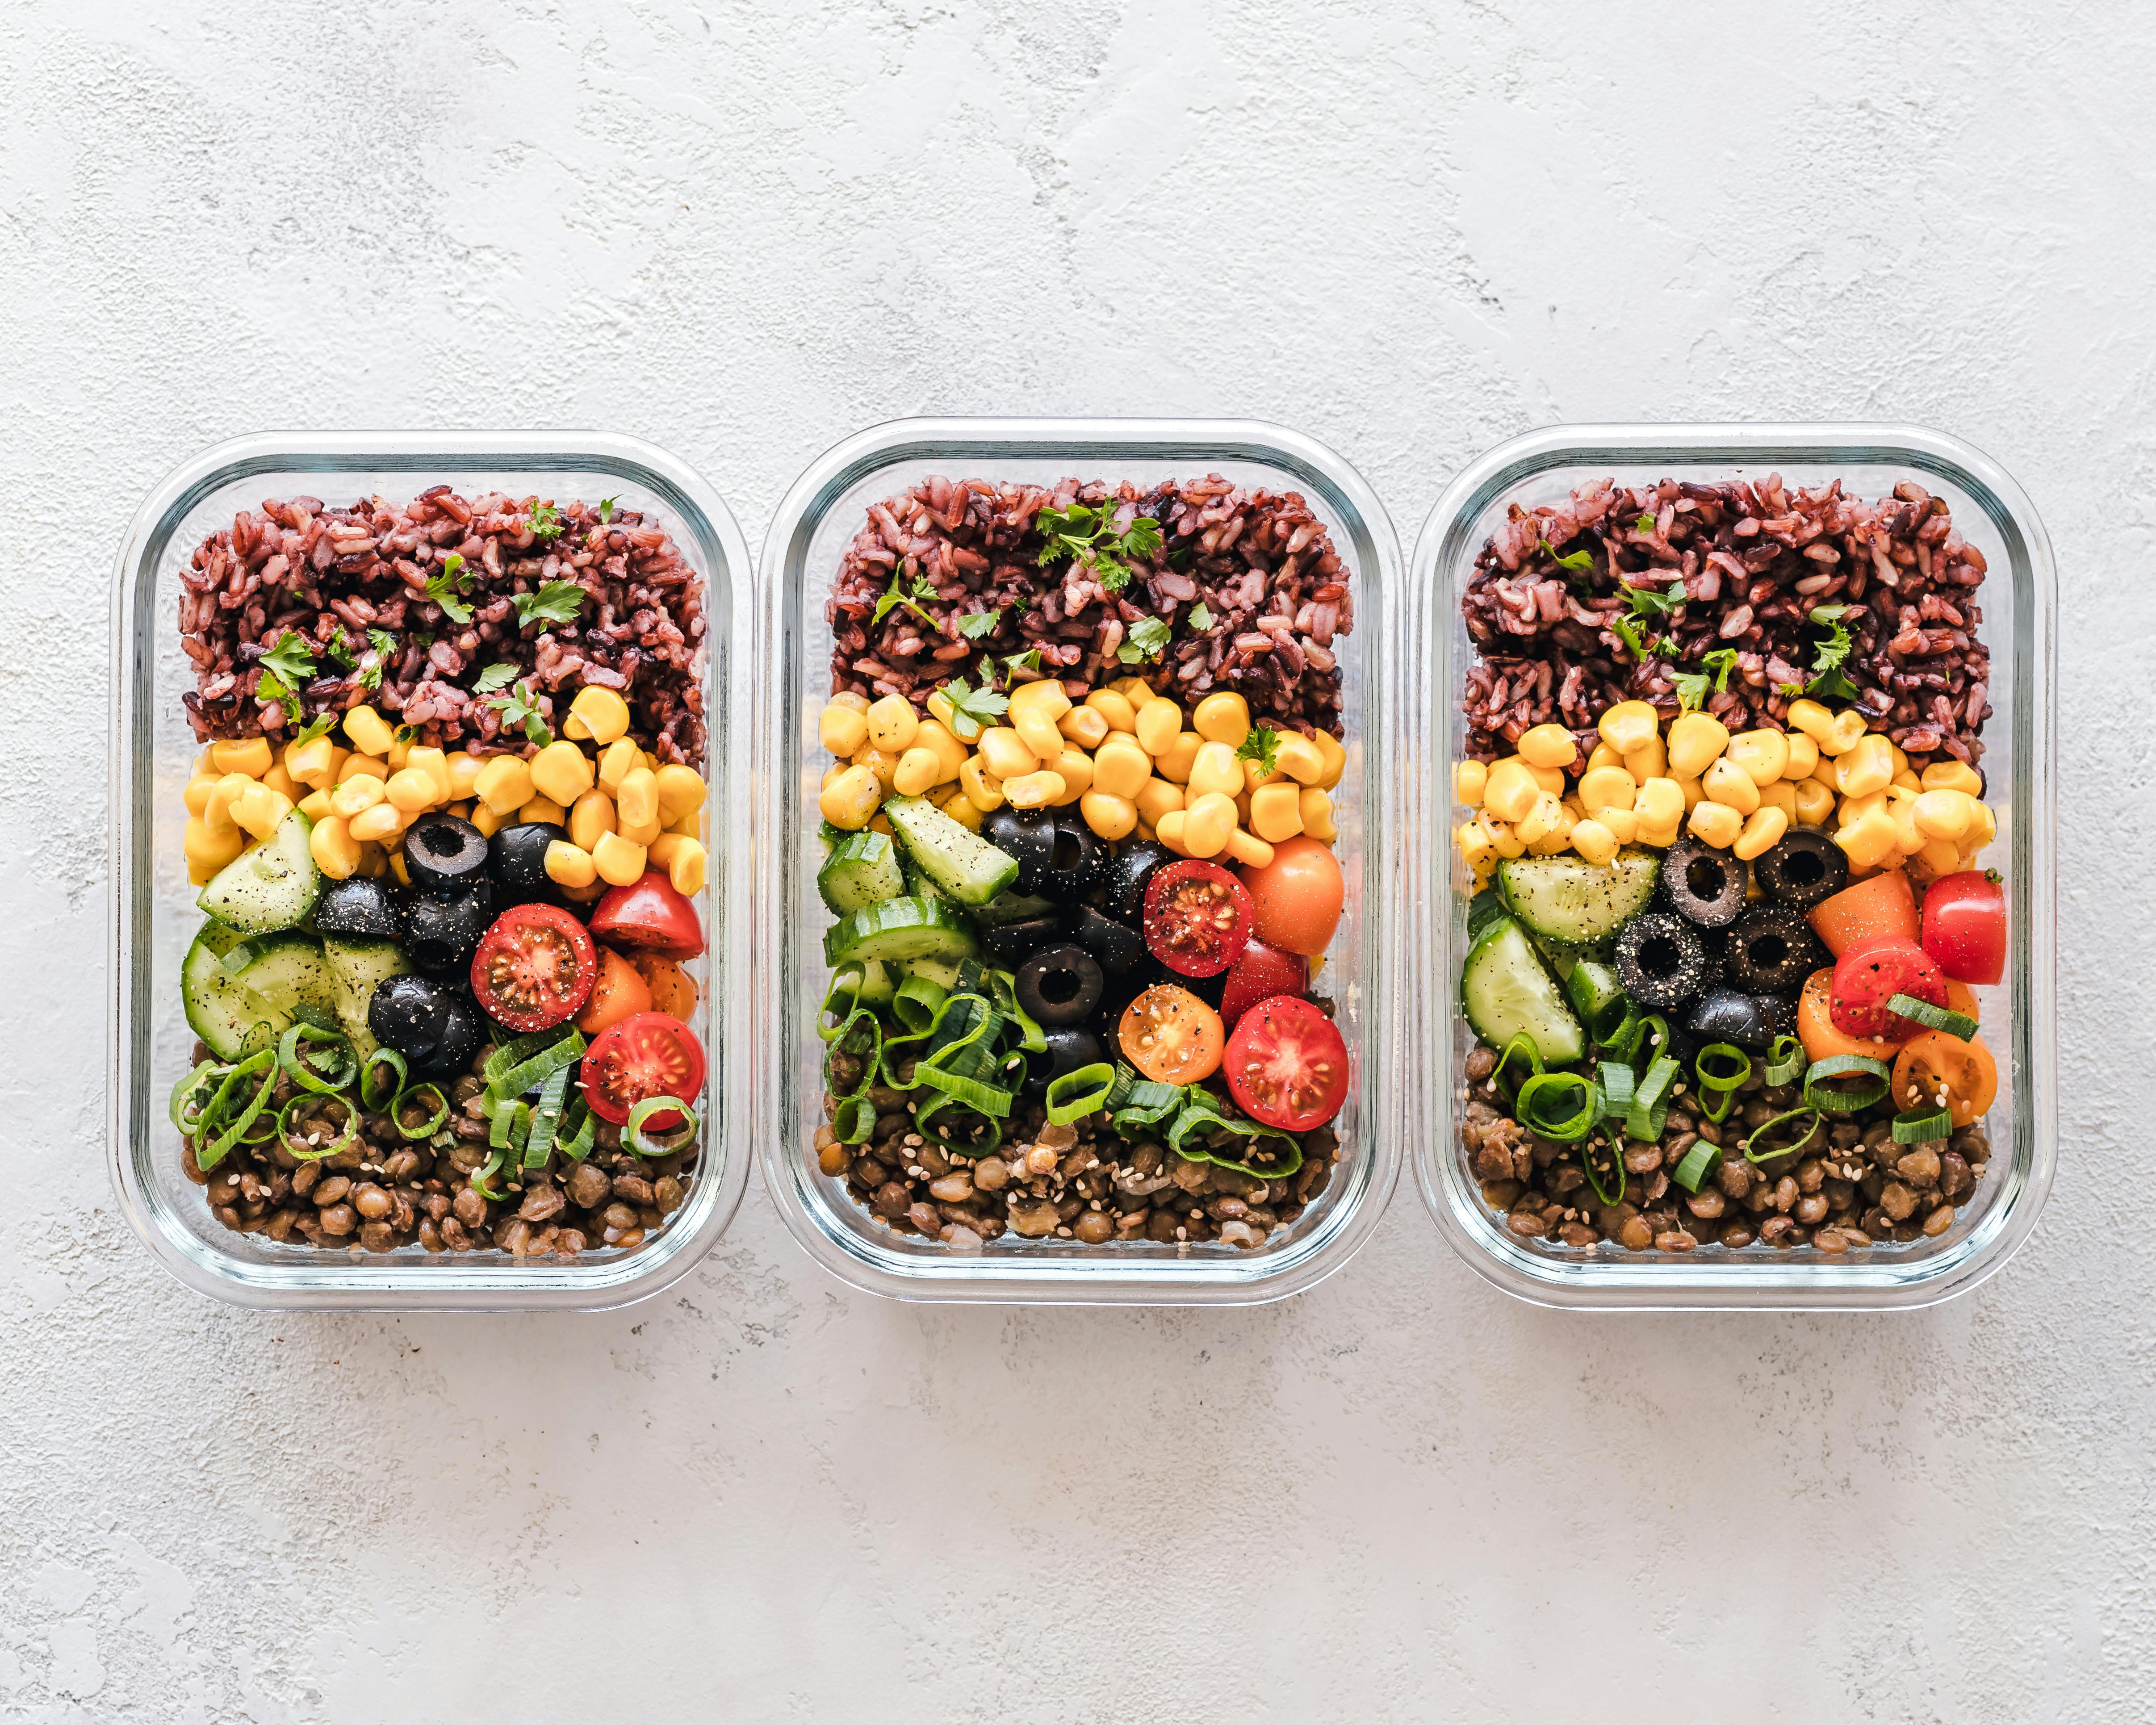
Ingredients
- Cooked rice, lentils, ground beef, mushrooms, bananas, apple slices, capsicum.
- Dehydrating ingredients individually rather than as a meal allows you to mix it up when food starts to get boring (and this will happen!).
Snacks
- Fruit leathers, veggie chips, granola.
- Quick to grab and no-prep snacks are a must-have, especially on those windy nights when you can’t light the stove!
Tips:
- Dehydrate fully and store in airtight zip bags or vacuum-seal bags.
- Add labels with contents, cooking time, and portion sizes.
- Avoid high-fat or oily foods — they don’t store well and will go rancid.
- Dehydrating one batch of meals takes 6–12 hours at home depending on moisture content.
- A secondhand dehydrator ($50–100 NZD) pays for itself quickly if you’re preparing for a thru-hike.
Trail Food on a Budget
Budget-conscious thru-hikers often rely on a combination of supermarket staples, bulk resupply, and occasional treat meals. Buy in bulk at Pak’nSave or Countdown when you pass through big towns and use vacuum-sealed or zip bags to portion out meals.
Best budget-friendly food staples:
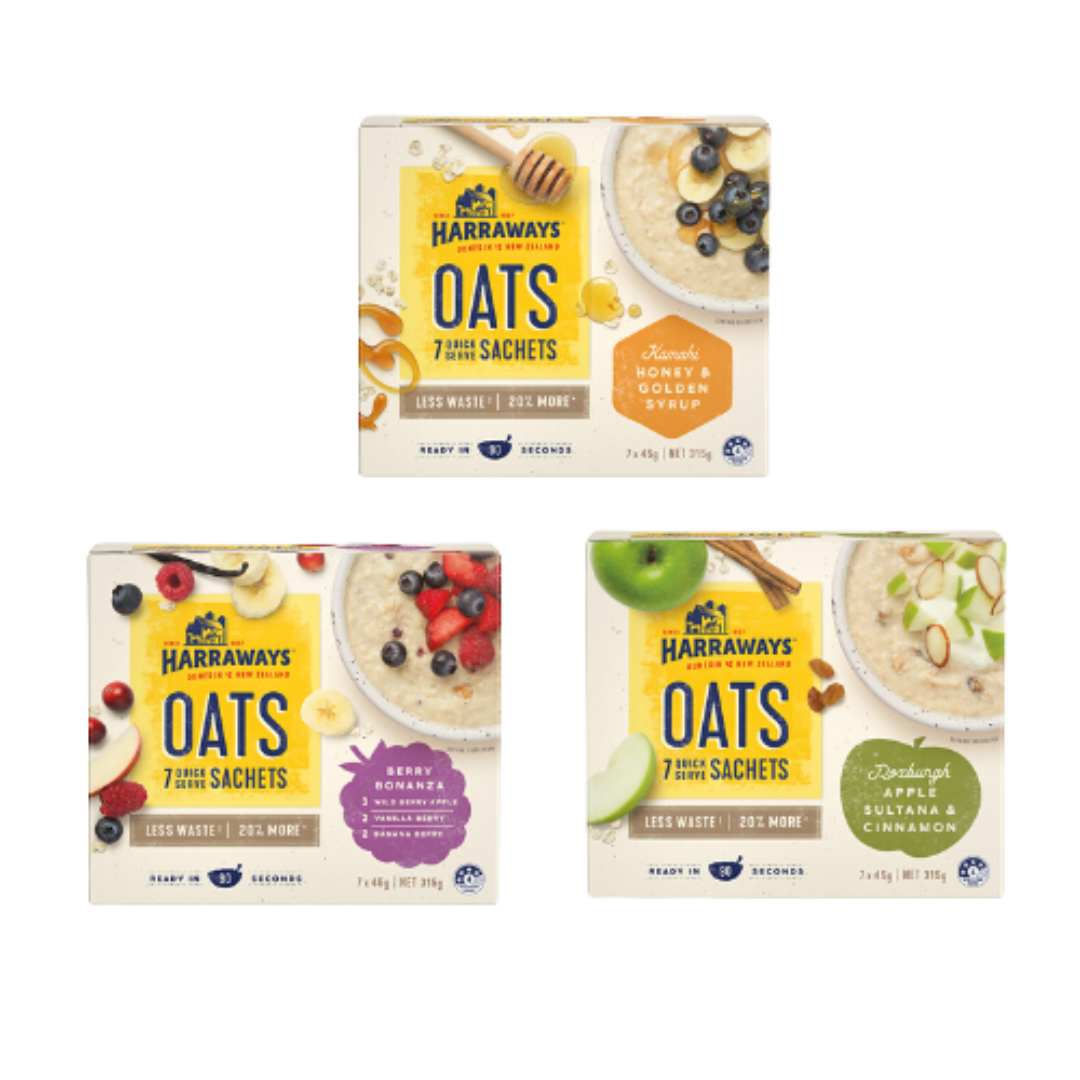
Oats
(breakfasts for days)

Ramen noodles and couscous
(cheap, fast-cooking dinners)
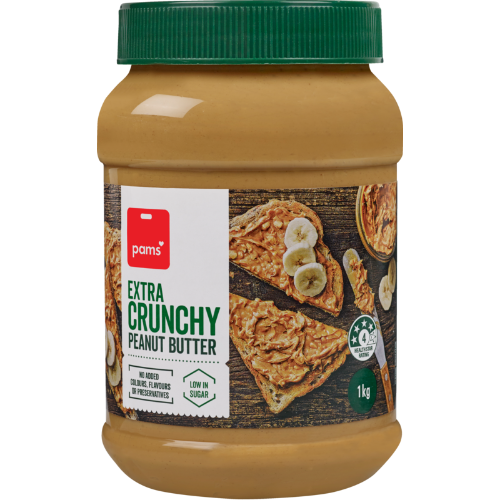
Peanut butter
(calorie-dense, versatile)
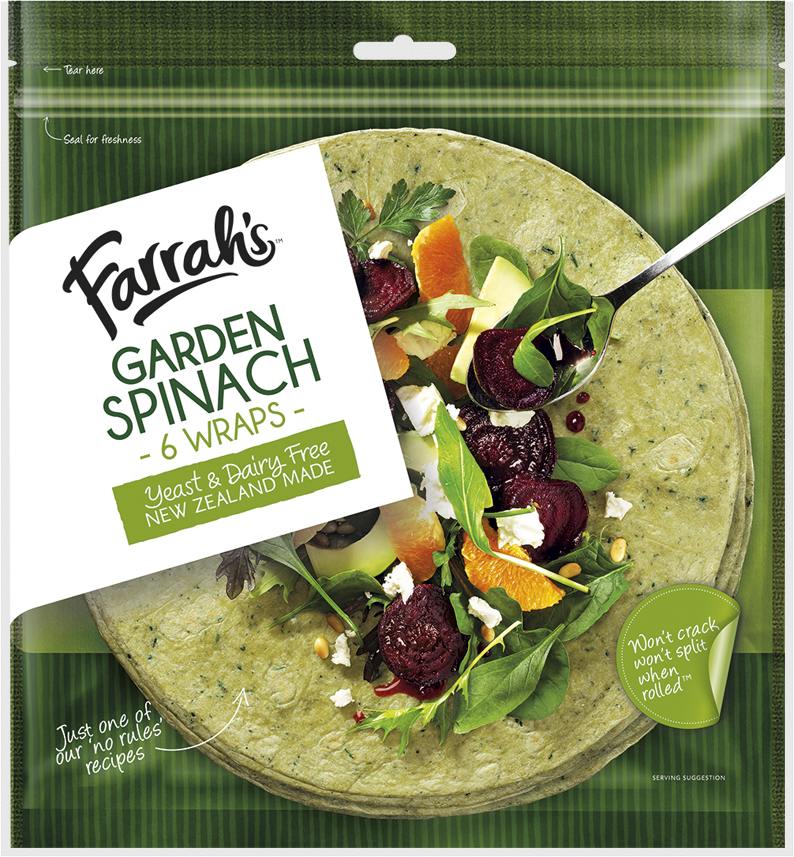
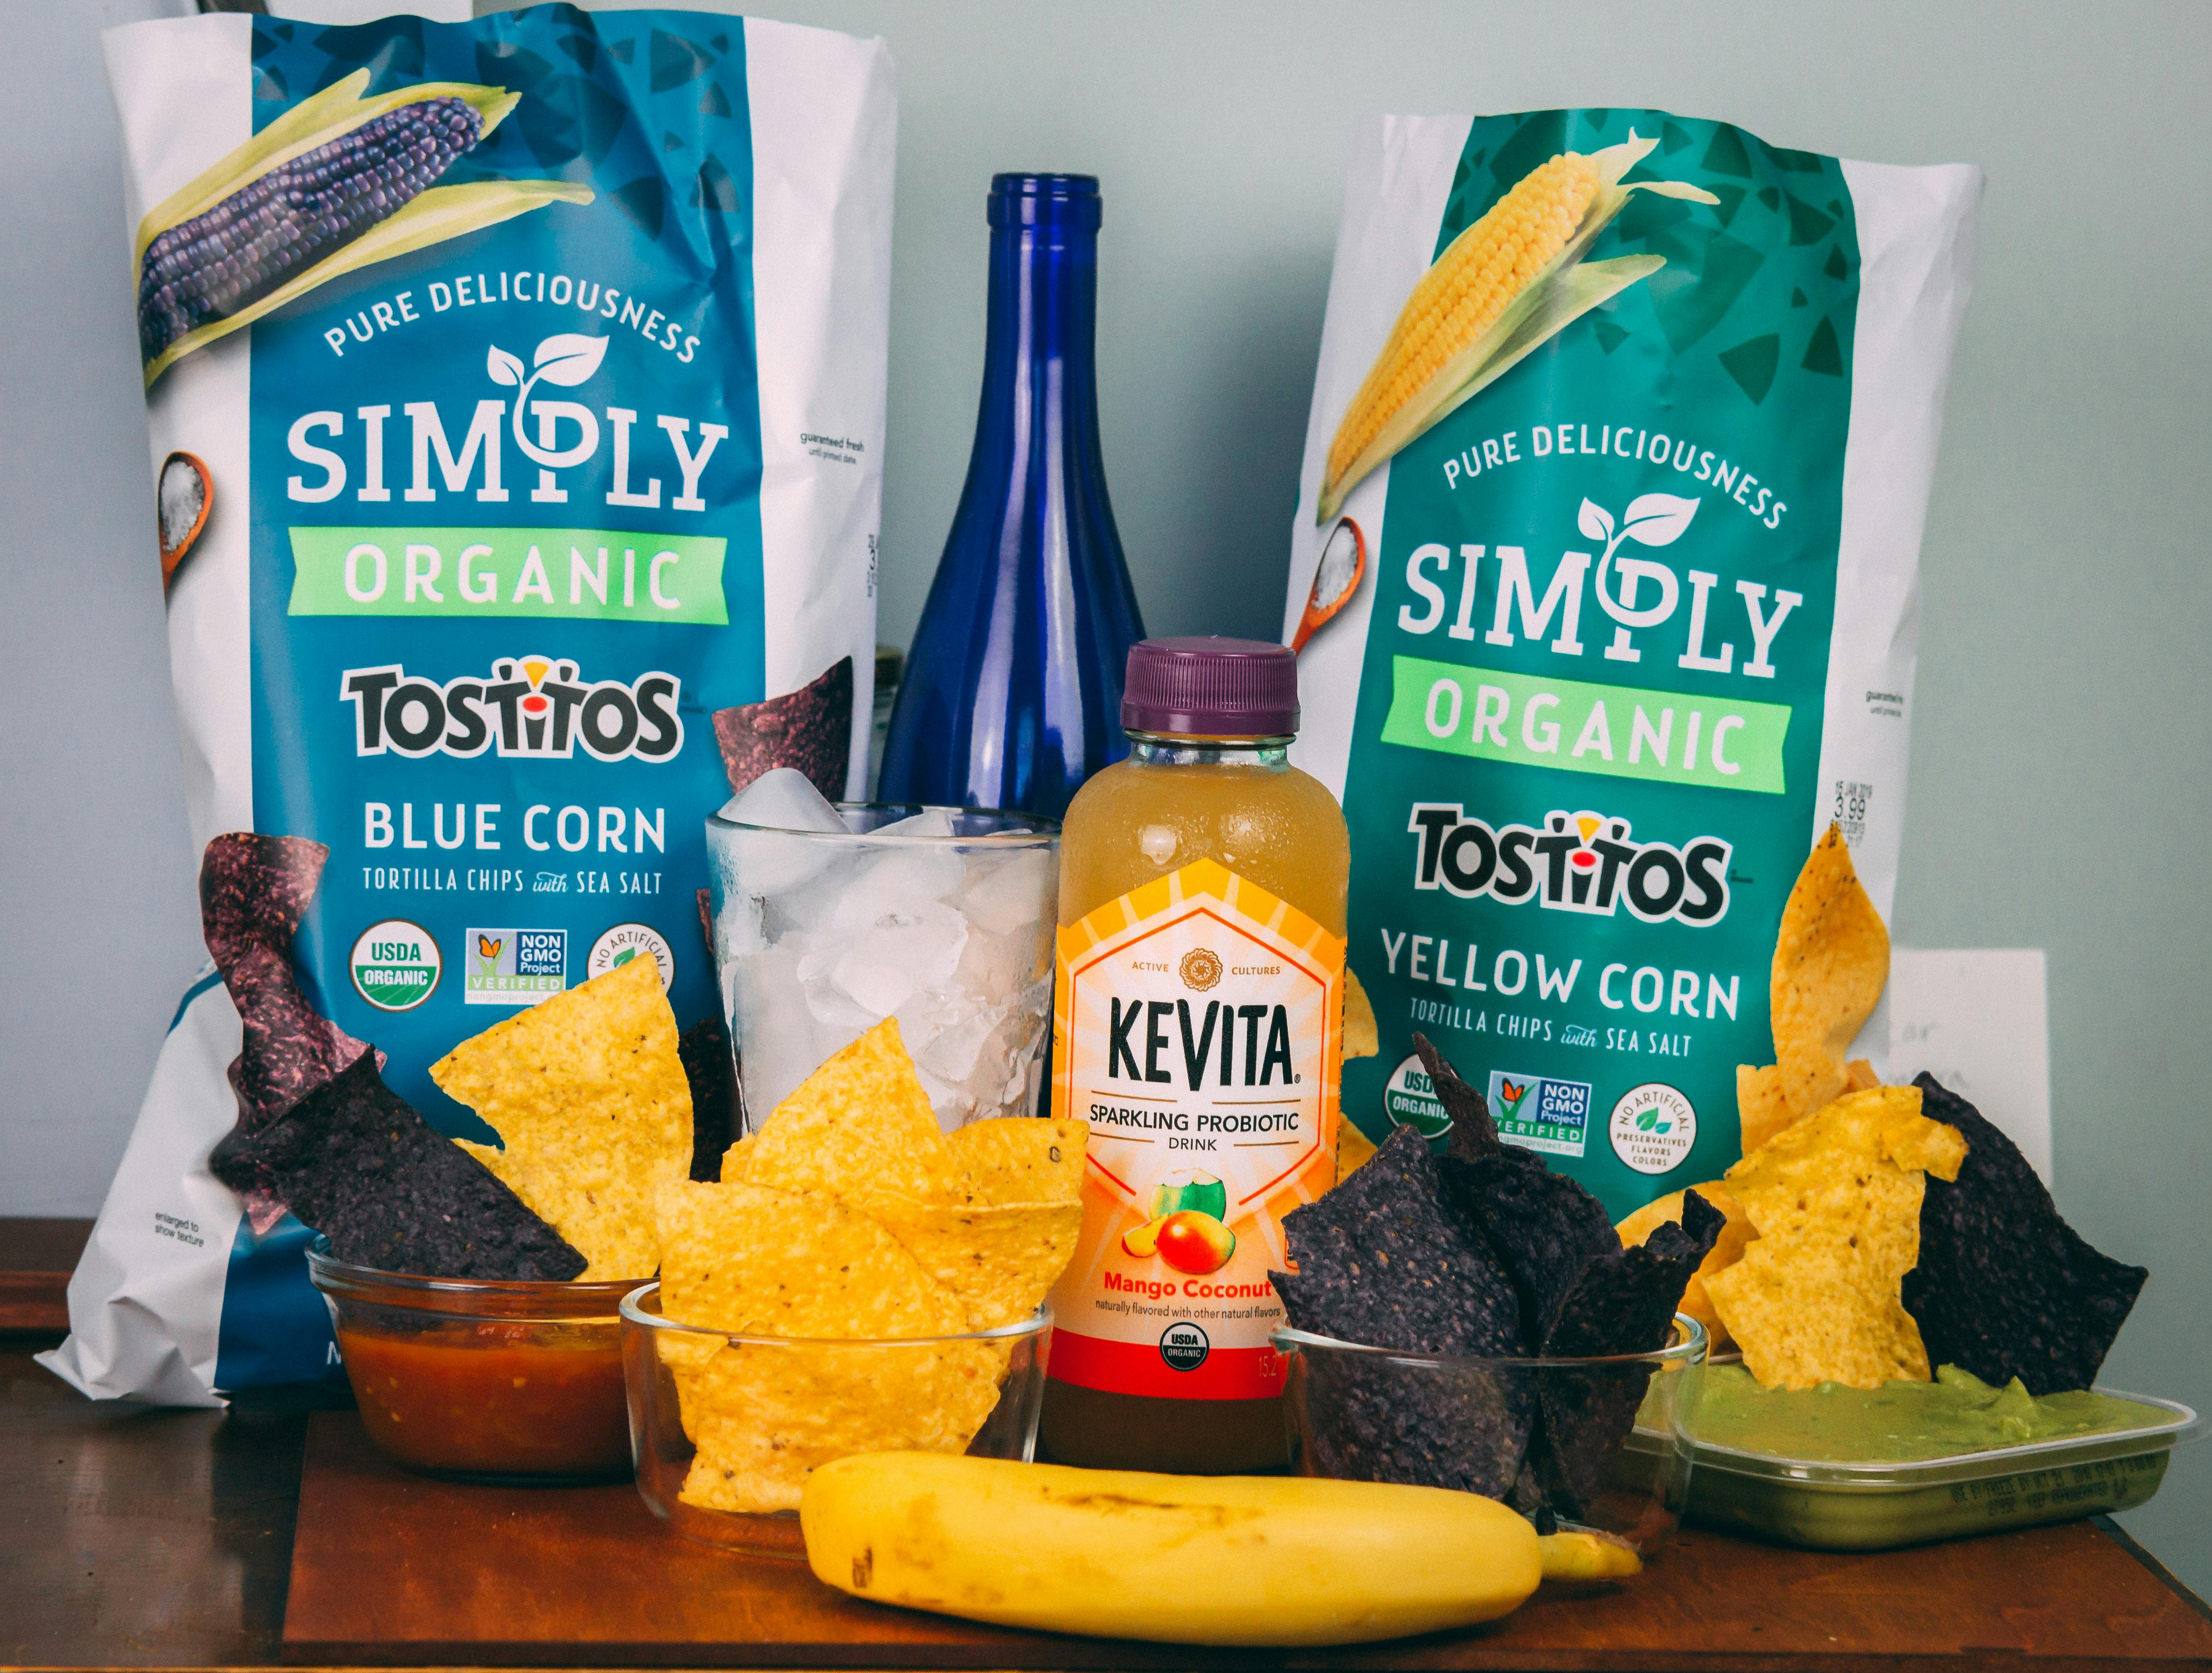
Wraps or tortillas
(better than bread on trail)
Tuna packets
(protein boost)
Powdered milk, protein powder, or Milo
(extra nutrients)
Bulk trail mix
(DIY from raisins, peanuts, chocolate)
Sending & Using “Bounce Boxes”
Bounce boxes are pre-packed resupply boxes you send to yourself along the trail, especially in places with limited store options (e.g. Boyle Village, St Arnaud, Arthur’s Pass).
Step-by-Step: Sending Bounce Boxes
- Pack your food ahead: Group by days or meals (5-day packs are common)
- Include extras: spare batteries, meds, dehydrated meals, specialty diet items, hygiene refills
- Label the box clearly:
- YOUR NAME
- ETA (Expected Arrival Date)
- PHONE NUMBER or EMAIL
- Address the box to a local hostel, backpacker lodge, or post office (many accept Poste Restante)
- Confirm by phone/email that they’ll hold it
- Send via NZ Post or CourierPost (expect 2–5 days domestic)

What’s in a Typical Bounce Box?
- 4–7 days of meals
- Trail mix/snacks
- Coffee or electrolyte sachets
- Gas canister (NZ Post won’t ship these—buy locally)
- Spare socks or blister plasters
- Allergy-friendly or specialty diet food

Important notes:
- Only use post offices that offer post restante (check on the NZ Post website).
- Do not include gas canisters — they can’t be mailed.
- Call ahead or email post offices if unsure whether they accept hiker boxes.
Storing Packages at Post Offices (Poste Restante)
Poste restante allows you to send boxes of food and supplies to yourself at participating New Zealand Post offices. It’s perfect for sending ahead dehydrated meals or food for sections with fewer resupply options (especially in the South Island).
How it works:
- Address your box to:
Your Namec/o Poste Restante[Post Office Address]Town, NZ
- Include your approximate pickup date.
- Bring ID to collect.
- Your box will be held for up to 2 months at the following costs:
- 0-7 days – Free*
- 7-14 days – $11*
- 14-21 days – $16.50*
- 21-28 days – $22.00*
- Price keeps going up to a maximum of 63 days – $49.50*
- *Check NZ Post website for most up to date rates.
Te Araroa Post Restante Locations as of May 28, 2025:
Poste Restante
NZ Post Shop Kerikeri
Books on Hobson
6 Hobson Ave
Kerikeri 0230
Ph. 09 407 9721
Poste Restante
Wellington Box Lobby
7 Waterloo Quay
Pipitea
Wellington 6011
Ph. 0800 501 501
Post Restante
NZ Post Shop Picton Central
Freshchoice Picton
1/100 High Street
Picton 7220
Ph. 03 573 6463
Poste Restante
NZ Post Shop Wanaka Central
Paper Plus Wanaka
23 Helwick St
Wanaka 9305
Ph. 03 443 7532
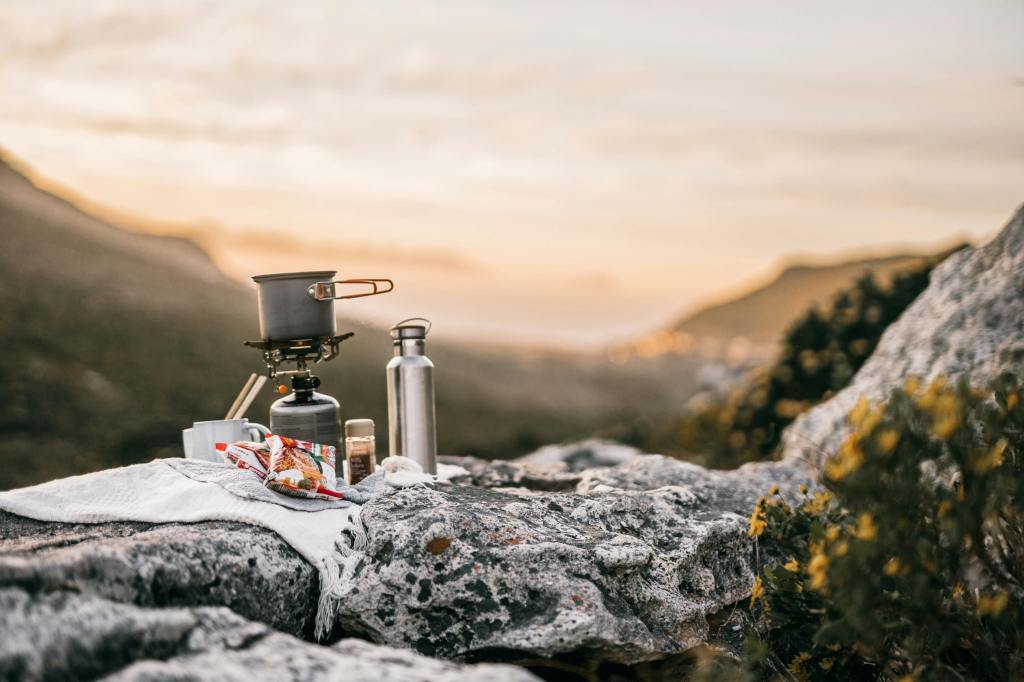
Cooking Fuel: How Much to Carry
You’ll need to plan for fuel if you’re carrying a stove (see top stoves here). Most Te Araroa hikers use butane/propane gas canisters (like Jetboil or MSR).
How Long Does One Canister Last?
Estimate based on boiling 2–3 cups of water per meal, 2 meals per day.
| Canister Size | Boils/Uses | Days (1 person) |
|---|---|---|
| 100g | ~10–12 boils | 4–5 days |
| 230g | ~20–25 boils | 7–10 days |
| 450g | ~40–45 boils | 14+ days |
Fuel Tips:
- Buy canisters locally at outdoor shops (Bivouac, Hunting & Fishing, Torpedo7)
- Do not send fuel in boxes—NZ Post will refuse them
- Save fuel by:
- Soaking food before cooking (e.g. ramen or couscous)
- Cooking once daily
- Eating no-cook breakfasts
Going Stoveless: Is It Worth It?
Some hikers skip the stove altogether. Upsides: Saves weight and hassle. It also means you are prepared for those windy days where lighting a stove isn’t safe or even possible! Downsides: No hot drinks, lower variety, and harder to digest meals in cold weather.
Common stoveless foods include:

Cold-soaked couscous, instant potatoes, and noodles

Peanut butter, wraps, canned fish

Granola with powdered milk and water
Pro Tips from TA Veterans
- Vacuum seal your food boxes if prepping in advance (prevents spoilage and saves space)
- Add variety—you’ll burn out fast on oats and noodles alone
- Don’t underestimate snack cravings
- Label boxes clearly with your name, ETA, and phone number
- Check local store hours and holidays, especially in smaller towns
Te Araroa Map with Food Stops
You can expand the map by clicking the “expand” button on the top right hand corner. Once inside the map, you can select and deselect layers to see only the details you need. I hope you find this handy! Date of last map update is available on the expanded version of the map.
Final Thoughts
- Plan meals by days between resupplies—not by kilometers
- Mix up your food—monotony kills appetite
- Don’t skip electrolytes, especially in summer
- Label everything in bounce boxes clearly
- Buy in bulk and vacuum seal if prepping in advance
Good food planning can make or break your Te Araroa experience. With a bit of strategy, you can eat well, carry less, and enjoy the trail more. Whether you’re a gourmet cook or a minimalist hiker, taking the time to plan your meals will pay off—every single day you’re out there.
